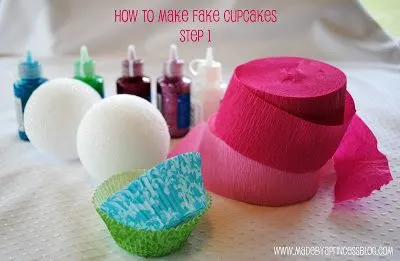
I had this vision and was determined to find a way to make it work for Miss Cupcake’s first birthday party. I Googled, I searched Pinterest, I couldn’t find exactly what I was looking for. I had envisioned cupcakes hanging from a string of Christmas lights. I have these adorable pink lights I got at Michael’s last month that will be perfect for Sugarella’s Sweet Shop Cupcake Birthday. So, back to my searching. I came up with nada. I found those tutorials for making faux cupcakes with foam and plaster of paris but I really didn’t want to make a trip to Home Depot and both options just looked messy. So I pulled a Winnie the Pooh, “Think. Think. Think.” A-ha! Cupcake liners, styrofoam ball, crepe paper, some glitter glue, and my glue gun. That will work just fine!
Once you have gathered your supplies and you have fired up your glue gun you are ready to get “baking”!
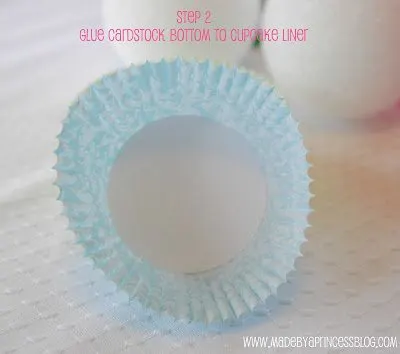
I used a piece of my “reject” cardstock and my 2″ circle punch to make this circle. I then glued it to the bottom of the cupcake liner. Not a lot of glue just enough to make it stick.
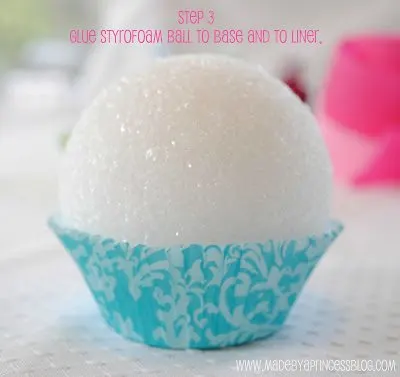
Glue the styrofoam ball to the circle base and then glue the liner to the ball. This does not require a lot of glue but I would advise doing it in sections and hold it in place until the glue dries. This is really quick if you are using a glue gun.
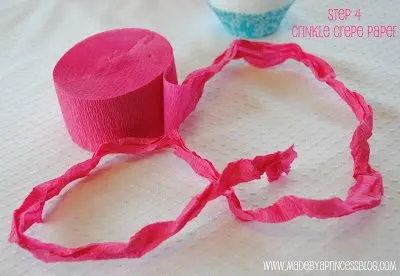
Now take your crepe paper and crinkle it. You will need about a 60″ piece of crinkled paper to make your frosting.
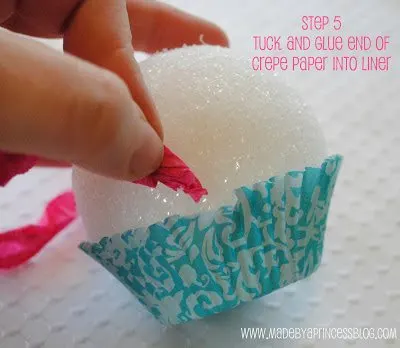
Fold one of the ends of your crepe paper frosting and tuck it into the liner with a dab of glue. Hold until it is dry.
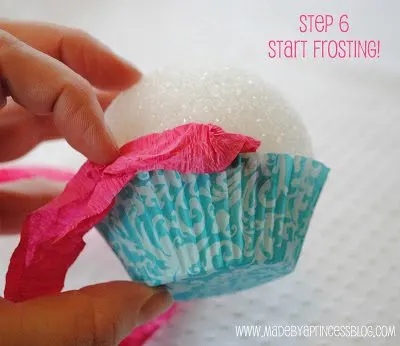
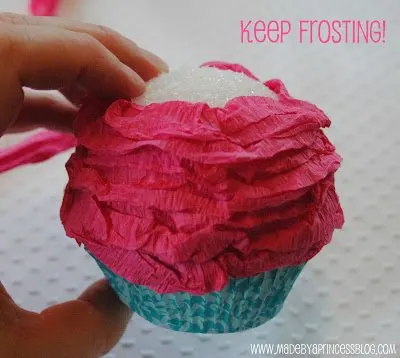
Make a glue line above the edge of the liner on the styrofoam ball and gently push the crepe paper onto the glue. It will be a little hot because you are using a glue gun but it dries quickly. Do this in about 2″ sections all the way around the ball leaving about a 2″ area on the top. While you are “frosting” be careful not to smash the paper. You want it to have some dimension. You can twist it or fold it, make it as decorative as you want.
Don’t forget to leave a little space at the top. You still need to add the cherry.
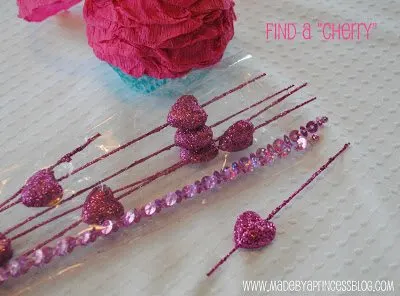
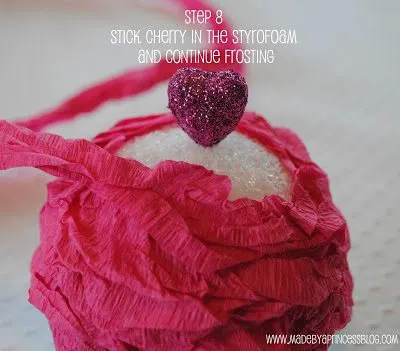
I searched all over Michael’s and could not find any cherries so I was going to use a glittery pom pom I knew I had in my supply drawer at home but THEN I saw the Valentine’s section and these glittery hearts. With the stem clipped off the top of the heart it kind of looks like a cherry, right? I think it’s perfect. This is important…leave the stem at the bottom but cut the stem on the top. You will need the bottom stem to push into the ball.
Stick your cherry into your cupcake and continue frosting around it. You want it to look like it has been pushed into the frosting. Cut any excess crepe paper and fold and glue so it looks like you just topped off with your frosting tip.
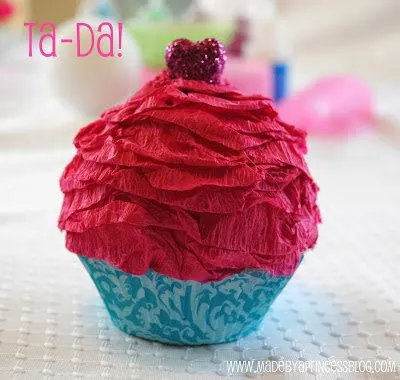
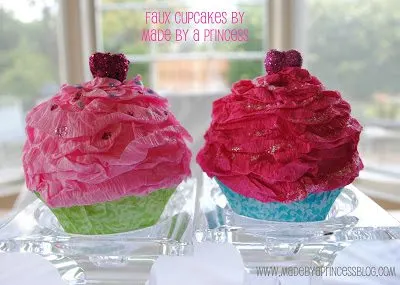
We’re done! Ta-da! Cupcake! From here you can add glitter or leave it perfectly undecorated. I will add glitter because I like sparkly things.
I hope you enjoyed this easy faux cupcake tutorial. I love comments so if you are stopping by please say hi. If you make one yourself I’d love to see it and would happily show it off in my gallery. Have fun “baking”!


Tricia
Tuesday 24th of January 2012
What a neat and easy idea! Thanks for sharing and the photos are beautiful! <3 Tricia
MadeByAPrincess
Friday 27th of January 2012
Thank you so much for stopping by and leaving a comment. I had a lot of fun with these and am excited to create my cupcake lights :)
MadeByAPrincess
Saturday 21st of January 2012
Hi Aimee! I haven't but I will head over there now! Thank you!
Aimee - ItsOverflowing.com
Friday 20th of January 2012
Love it to pieces!! Thanks so much for linking up to Overflowing with Creativity!! Have you entered my giveaway yet?
XO, Aimee
Customizable Frames, Signs, Wall Decor
Laurel @ Ducks in a Row
Thursday 19th of January 2012
I know my daughter would love making this with me! Thanks
MadeByAPrincess
Saturday 21st of January 2012
Hi Laurel! I would love to see pictures of your final product!
Audra @ The Kurtz Corner
Wednesday 18th of January 2012
These are adorable! Thanks for sharing at The Kurtz Corner! :) Sharing on The Kurtz Corner Twitter account!
MadeByAPrincess
Saturday 21st of January 2012
Thank you so much for coming by and commenting!