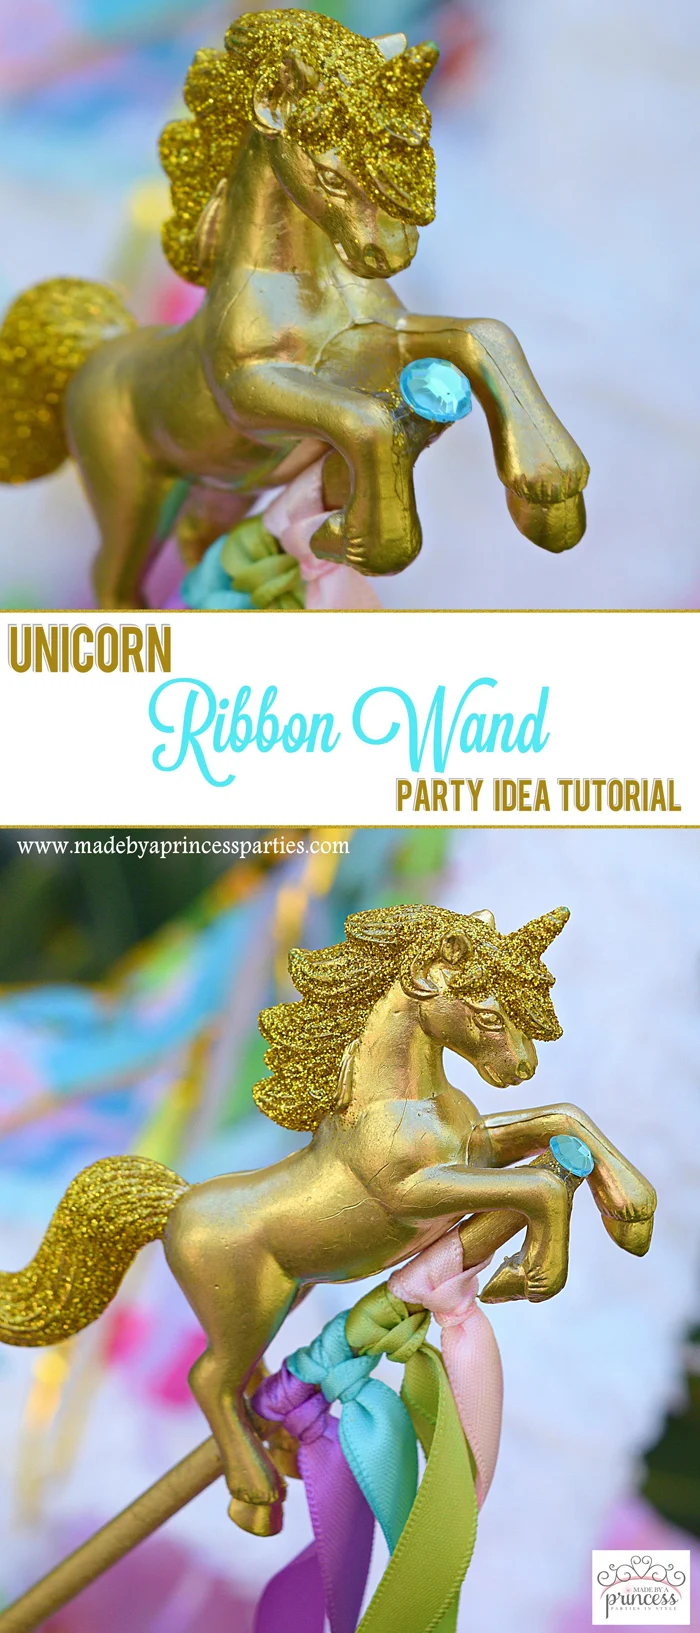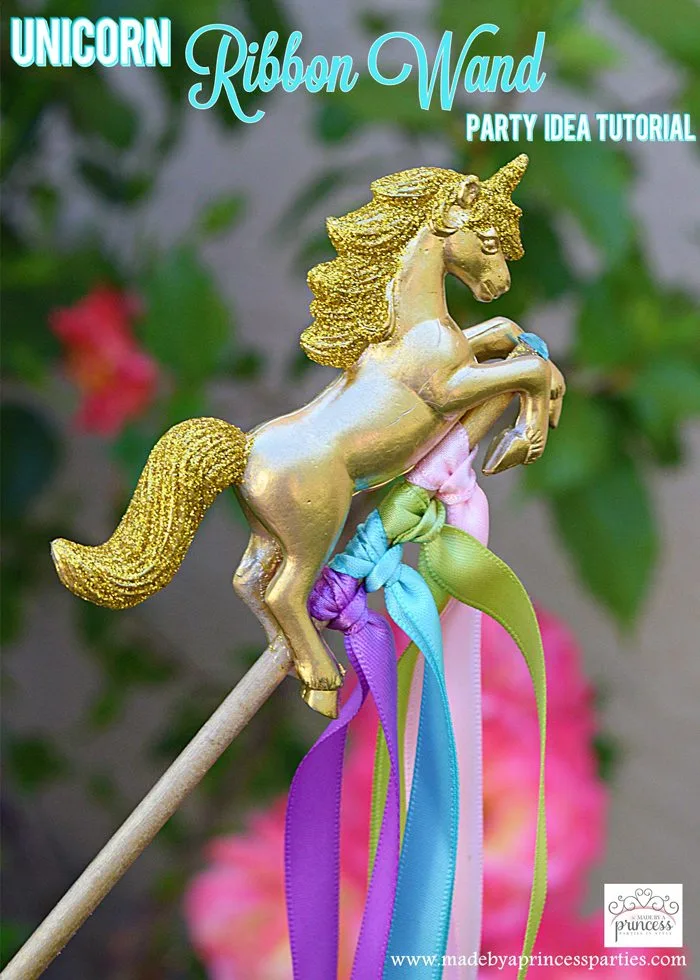
Do you remember playing with wands when you were a little girl? I loved wands. The prettier and sparklier the better! I recently made some magical unicorn ones for a party and am sharing my Unicorn Ribbon Wand Party Idea Tutorial so you can join in on the magical fun!
Before you get started here is what you are going to need:
- 10″ or 12″ long Dowel Rods, 1/4″
- Gold Metallic Rust-Oleum (I buy them by the 6-pack because it’s my favorite spray paint!)
- Ribbon
- 3″ Plastic Unicorns
- Hot Glue Gun
- Rhinestone Sticker
- Gold Glitter
- Mod Podge
- Craft Brush
I love wands. I have made so many wands for my daughter I have lost count. Fairy wands, princess wands, Good Witch wands…you name it. This was my first time, however, making a unicorn wand. I think this one is my favorite. I used my favorite Gold Metallic Rust-Oleum spray paint to paint the dowels and plastic unicorn toys.
When I spray paint I pull out my giant “painting” cardboard box so the overspray won’t get all over the place. I love this spray paint because it is the perfect color gold and it dries really quickly. I spread the dowels and the unicorns out in the box and gave them a good started coat and when that coat was dry (took about 3 minutes) I turned them over to get the other side. When that side dried I went over again with another light coat to fill in any missing spots.
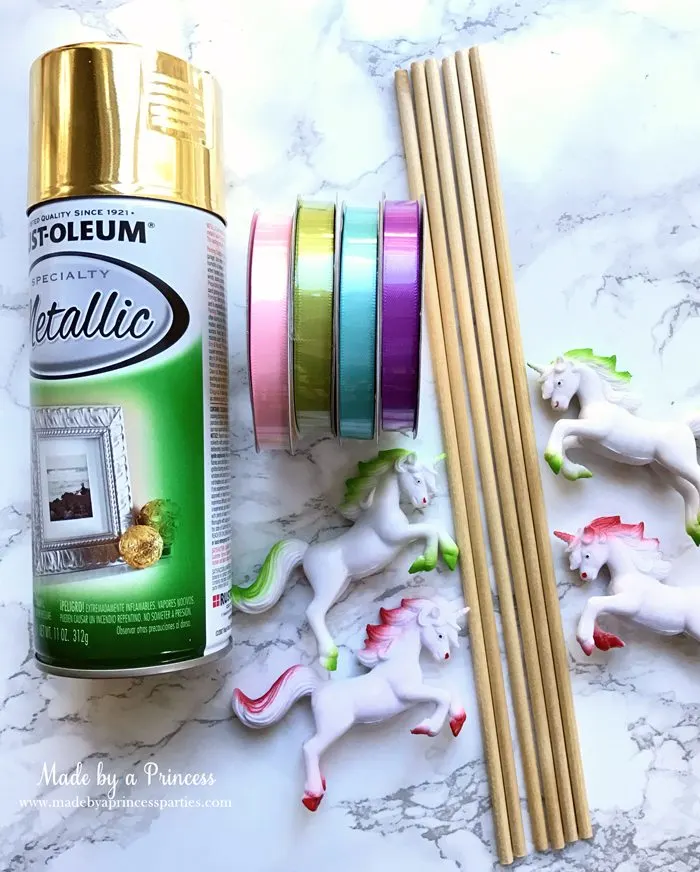
I did leave the dowels and unicorns to dry overnight to make extra sure everything was dry.
You will need to determine how long you want each color to be. Once you figure out the length of each ribbon cut all that you need and set aside.
For this wand we are going to use has a number of different names, Cow Hitch Variant, Lark’s Head Variant, Slingstone Variant, and Cat’s Paw Variant knot. Whatever you choose to call it, it’s a really easy knot. Fold the ribbon in half to create a loop, place looped end around the dowel, and pull the ribbon “legs” through the loop. Pull tightly to secure. Do this with each color.
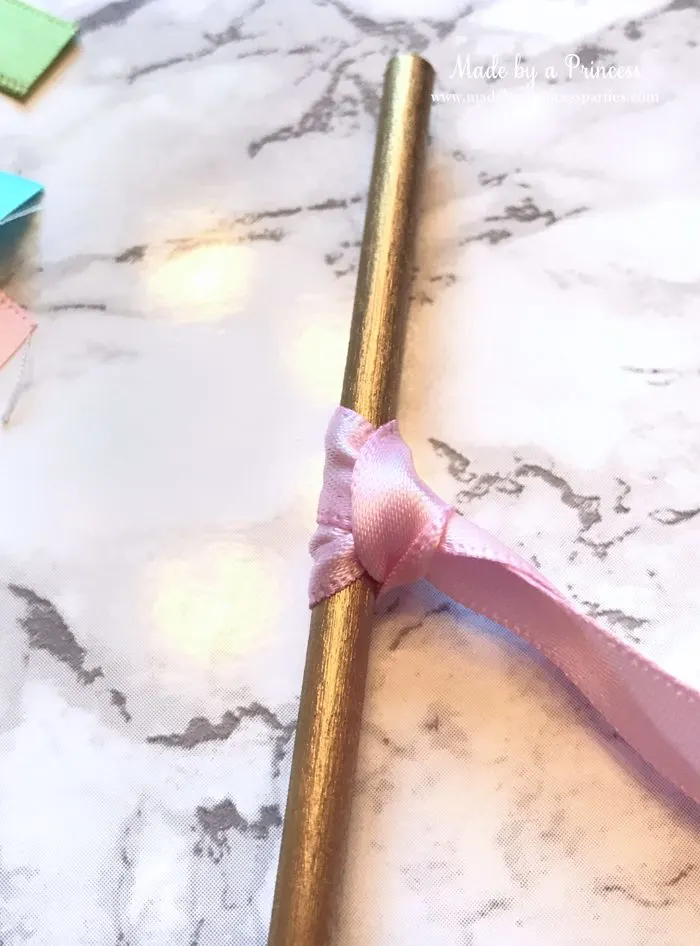
Because I used satin ribbon the knots didn’t want to stay in place so I placed a small dot of glue on the backside of the loop.
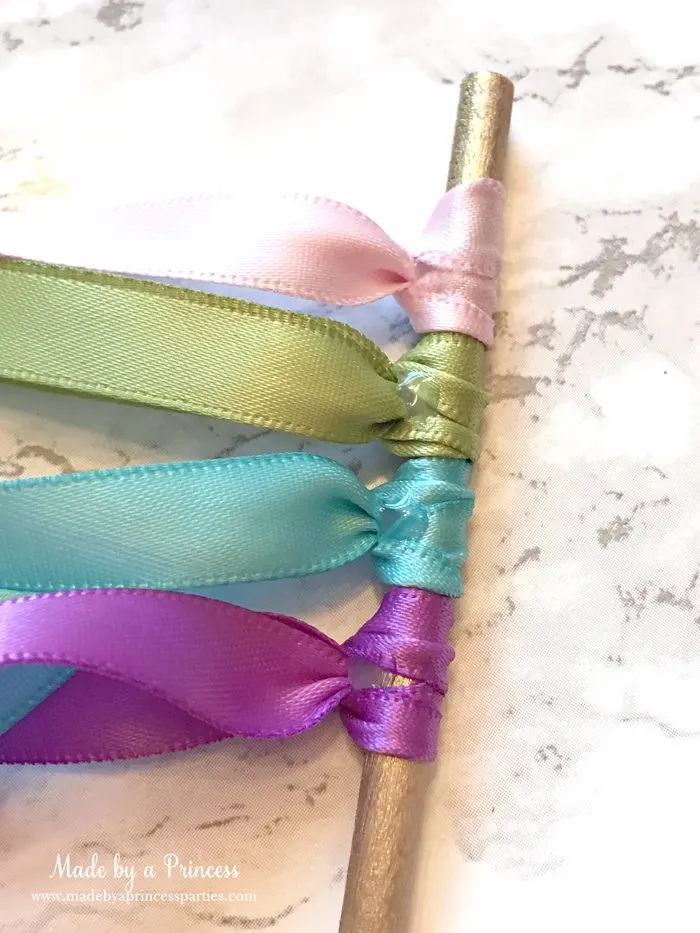
I can’t stand frayed ribbon edges so I always heat seal. Take a multipurpose lighter, the kind you would use to light the grill or candles, and run the flame quickly under the ribbon edge. It creates sort of a hard wax edge which is exactly what you want.
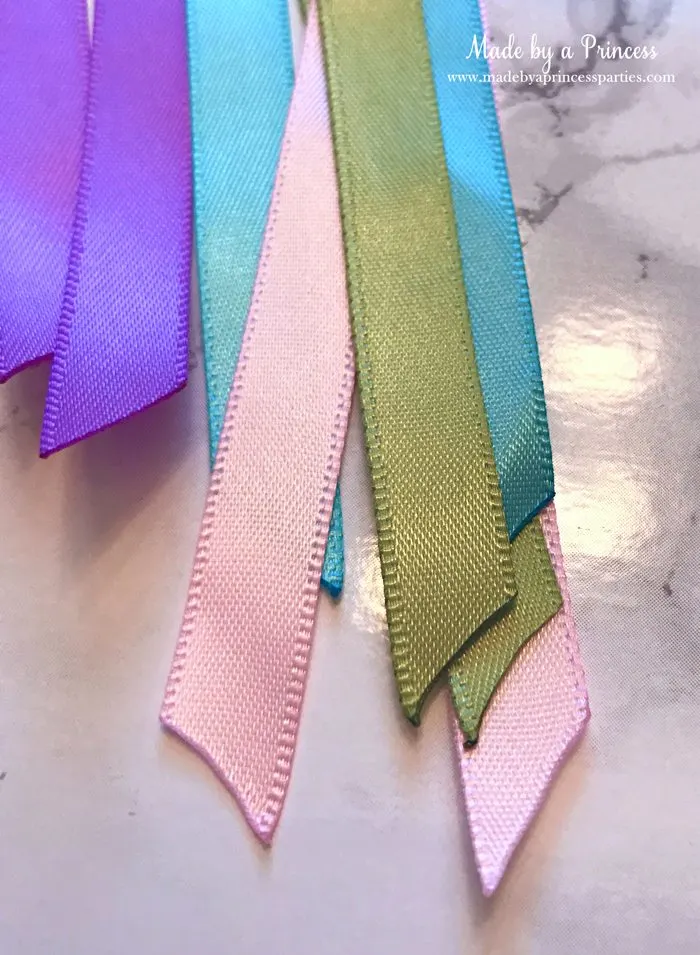
I didn’t realize I hadn’t snapped a pic of gluing the unicorns on so I apologize for that. It was really really late when I was making these. These unicorns won’t stay on their own so you need to glue them to the dowel. I glued one leg to the dowel right at the top (about where the rhinestone is) and then glued one the bottom legs to the dowel. This part is a little tricky more because you have to hold the unicorn and the dowel in place with one hand and use the glue gun with the other. Once you have the top part glued down the bottom one is a piece of cake.
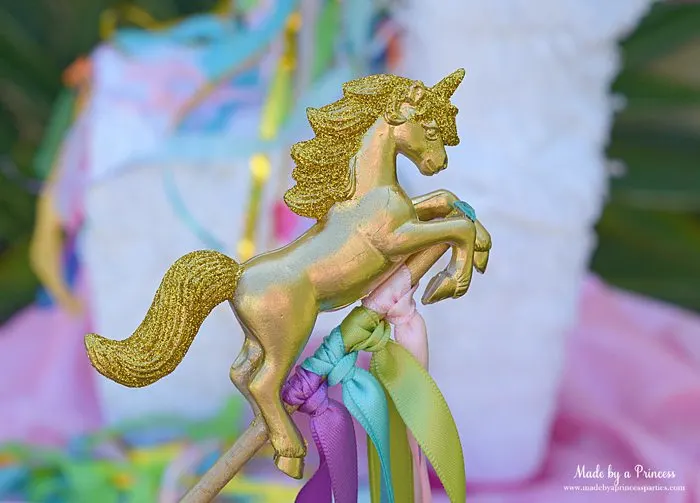
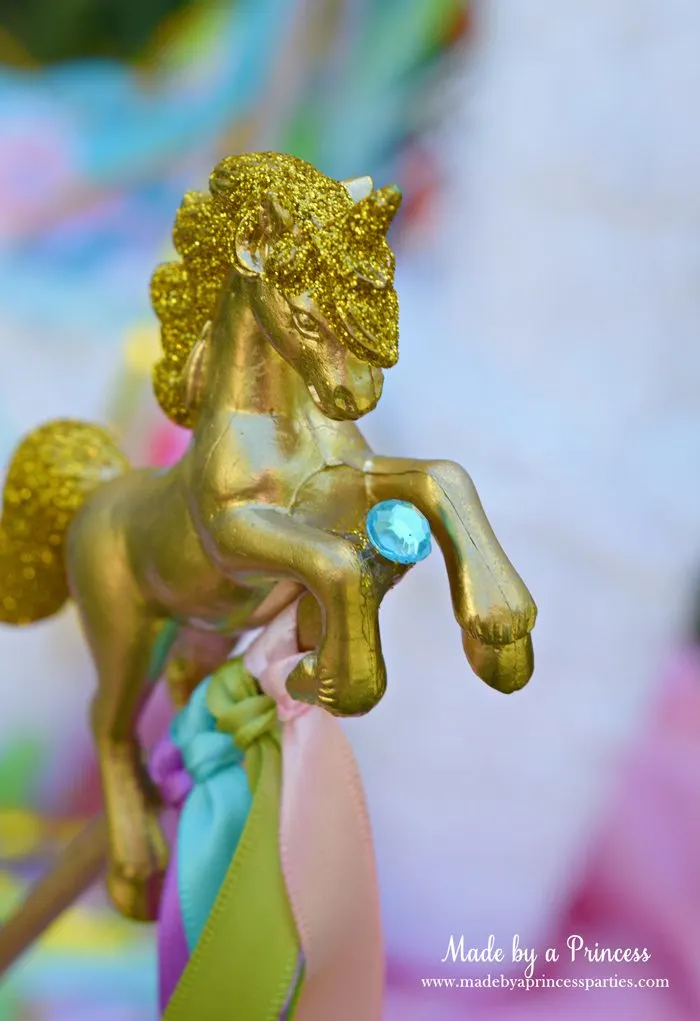
I love glitter and just had to glitter these pretty babies up! I painted Mod Podge to the tail and mane then sprinkled with glitter.
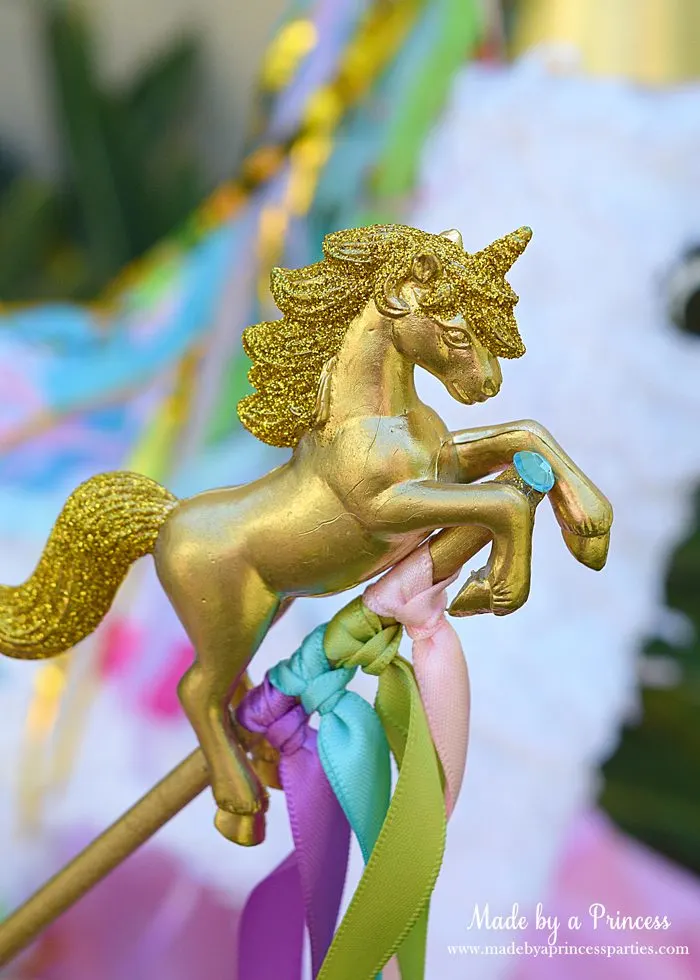
Once they were dry I finished off the wand by gluing on a rhinestone.
Wands up! I was so pleased with the way the wands came out…the girls just loved them!
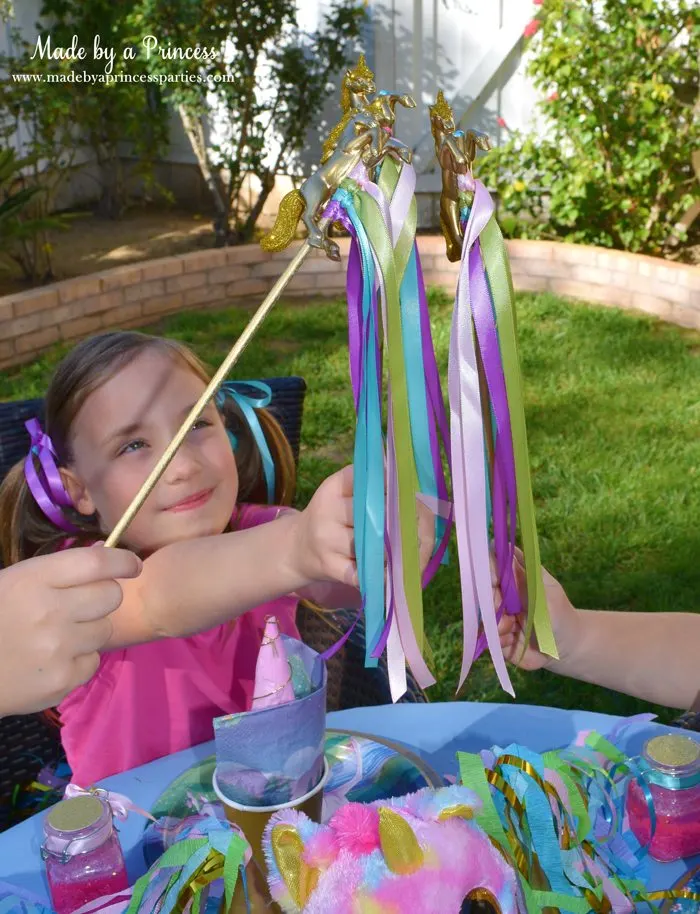
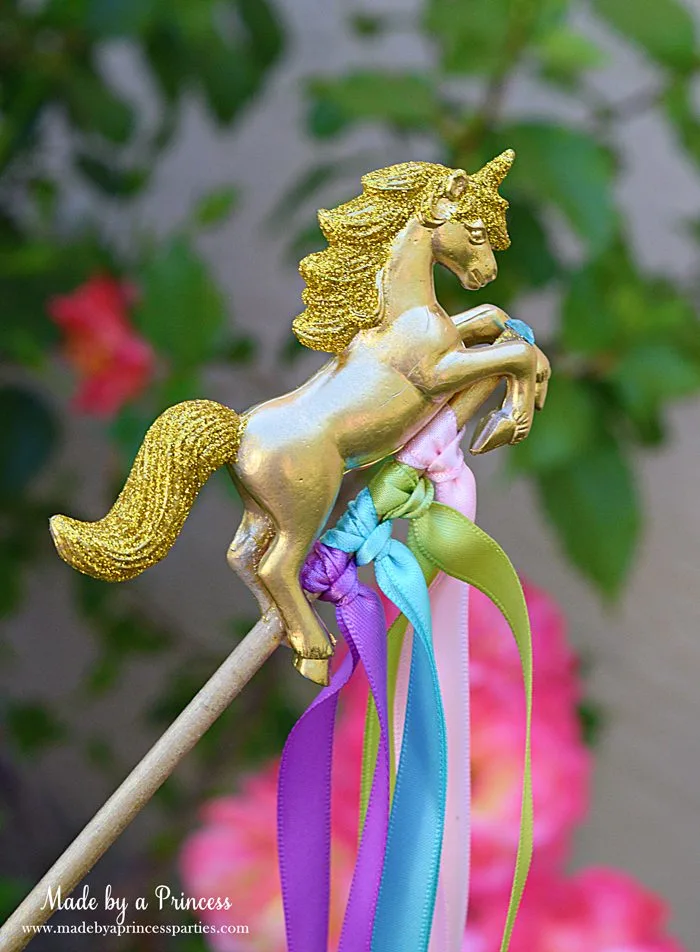
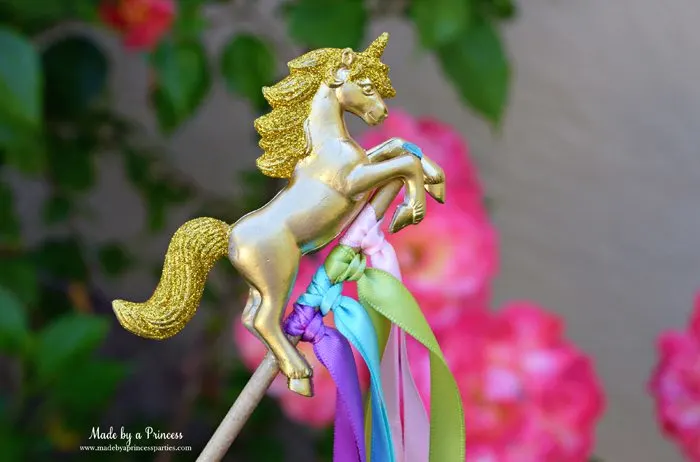
I hope you enjoyed my Unicorn Ribbon Wand Party Idea Tutorial. What colors will you use? I just love the dreamy sherbet colors here but would love to hear what you are going to use!
