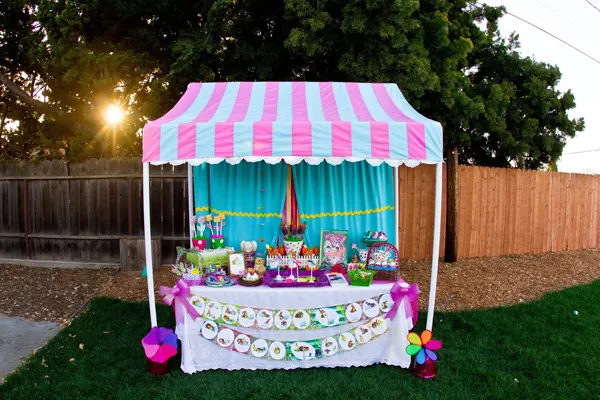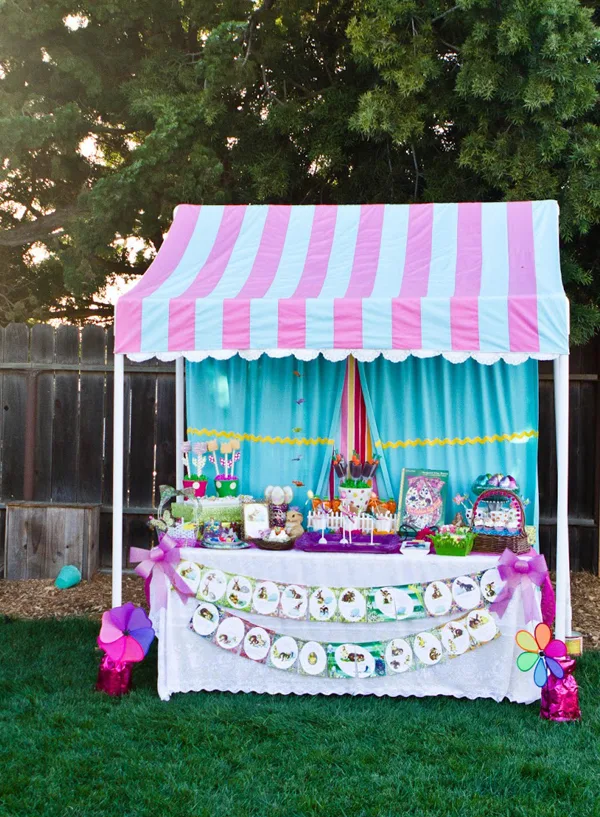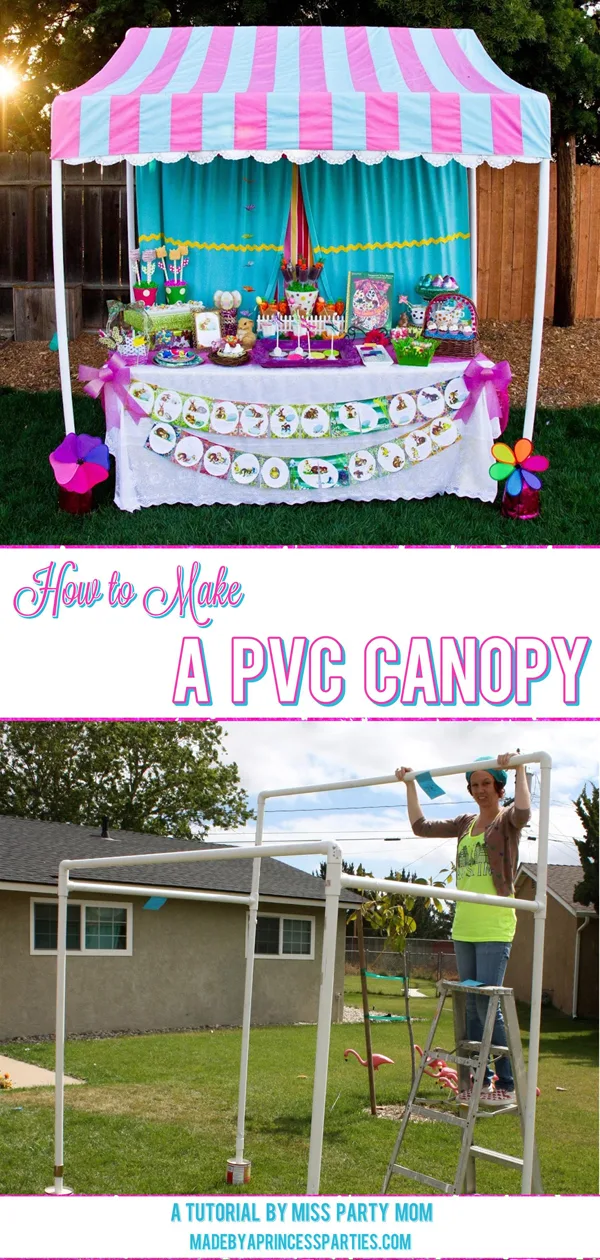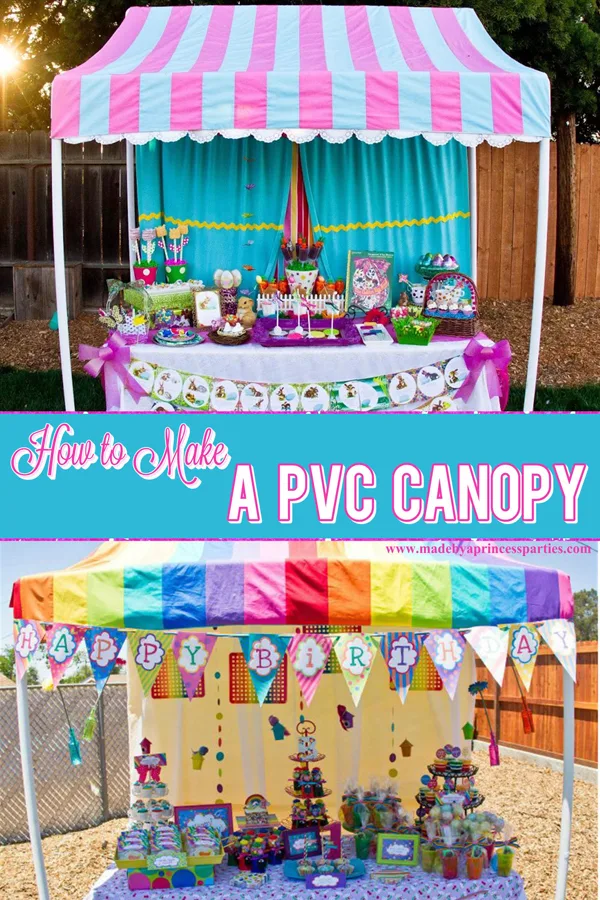
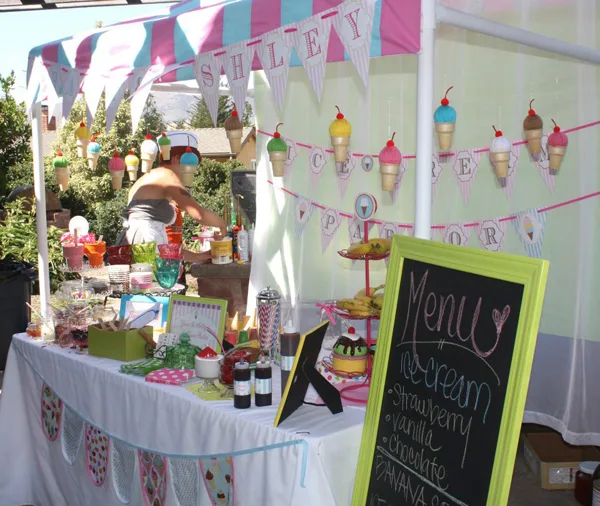
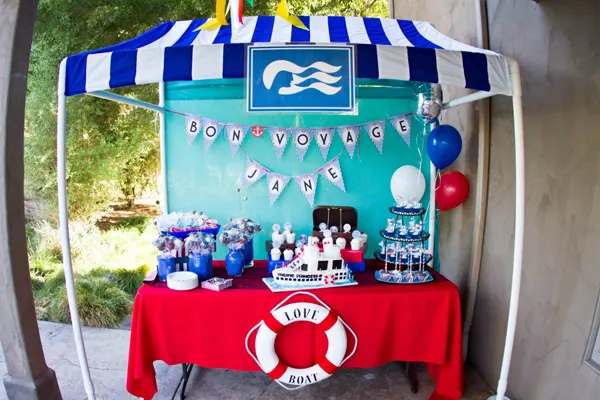
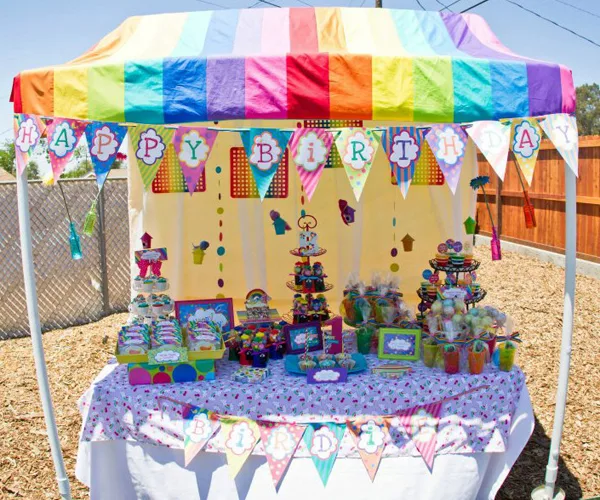
You’ve seen them at parties and boutiques and thought, “That’s super cute. I wish I had one!” Now thanks to my friend, Kenna, of Miss Party Mom, you can create your own. She is sharing her step by step tutorial on how to make a PVC pipe canopy. With just a few supplies you can make your own this weekend!
My friend, Kenna of Miss Party Mom, is not only very creative, she is really resourceful. She and her husband designed this fabulous PVC pipe canopy and lucky for us, is sharing the complete tutorial here. Don’t let all the steps scare you…this is a beautifully done and thorough how to and once you do you can put the pieces away for the next party.
Inspiration for a PVC Pipe Canopy
Kenna was inspired by the idea of creating a canopy after seeing a ton of amazing canopies placed over dessert tables on Pinterest. They were all gorgeous and very well made. She wanted one to keep the sun off of “melt-able desserts” in their non shaded backyard. She begged her husband (when it comes to parties you do what you gotta do!) to help make one after finding lots of inspiration on Pinterest. They decided that although the Pinterest canopies were gorgeous- most of them were built out of wood and not “collapsible” which she REALLY needed. PVC is so durable and since she takes these everywhere durable is what she needed. She can actually just take the entire thing apart and leave the pieces outside and wipe them down when needed.
How to Make a PVC Pipe Canopy
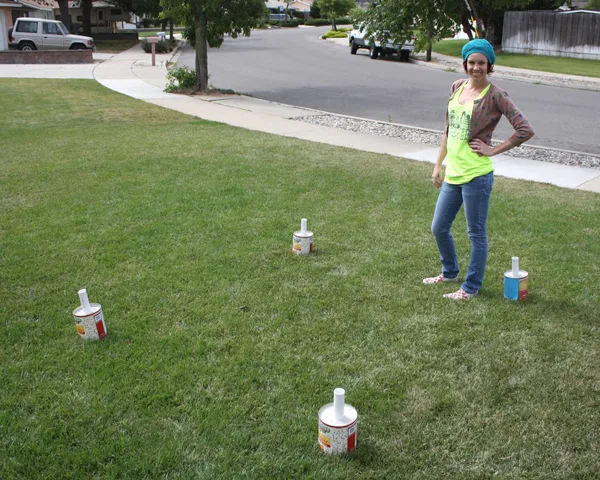
Kenna’s husband figured he could make the canopy for under $50. He went to Home Depot and got all of the PVC piping, connector pieces and the cement mix. She went to the grocery store and got the cheapest possible cans of food I could find – Hominy Beans from Smart & Final are $2.23 each can. Large coffee cans would work too.
Before you get started here is what you are going to need:
- 1 1/4″ PVC piping
- 1 bag of the cheapest cement mix you can find
- 4 large cans (beans, ketchup, coffee)
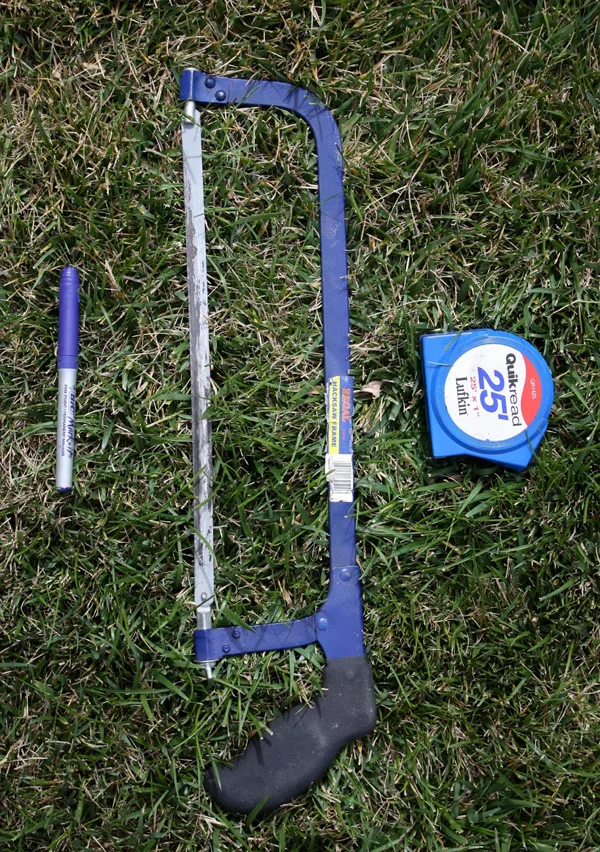
- Saw
- Measuring Tape
- Pencil
- White Spray Paint
- Velcro Sticky Back Squares
- 1 Queen Size Sheet for the canopy
- 6 Yards of Fabric (3 in each color)
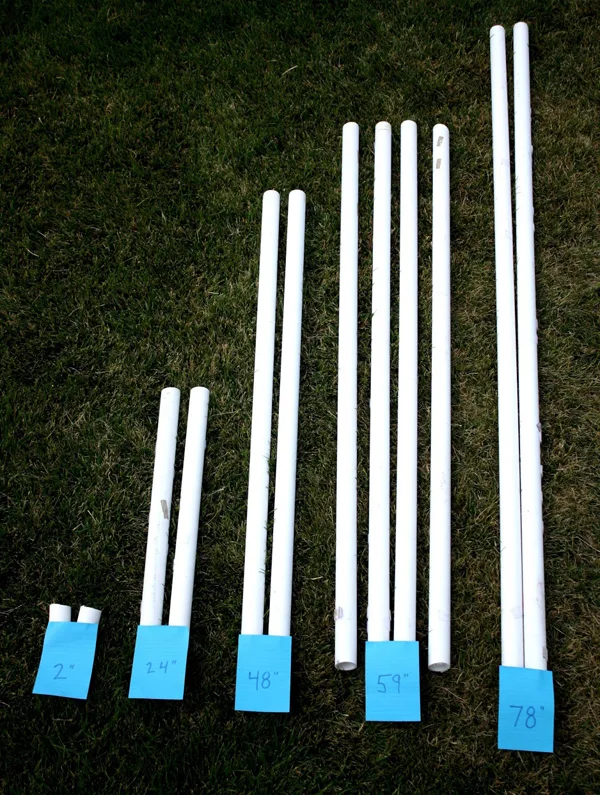
PVC pieces cut to the following sizes:
- (2) 2″
- (4) 11″
- (2) 24″
- (2) 48″
- (4) 59″
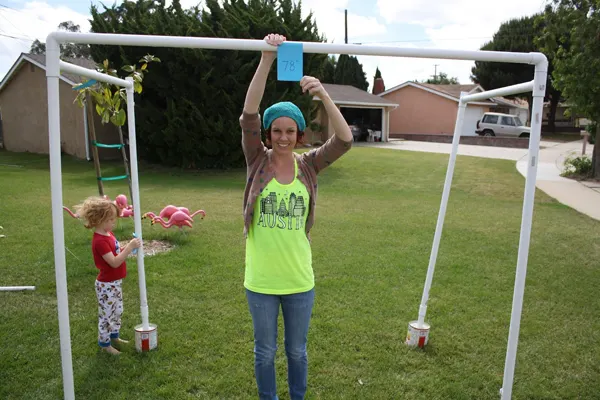
- (2) 78″
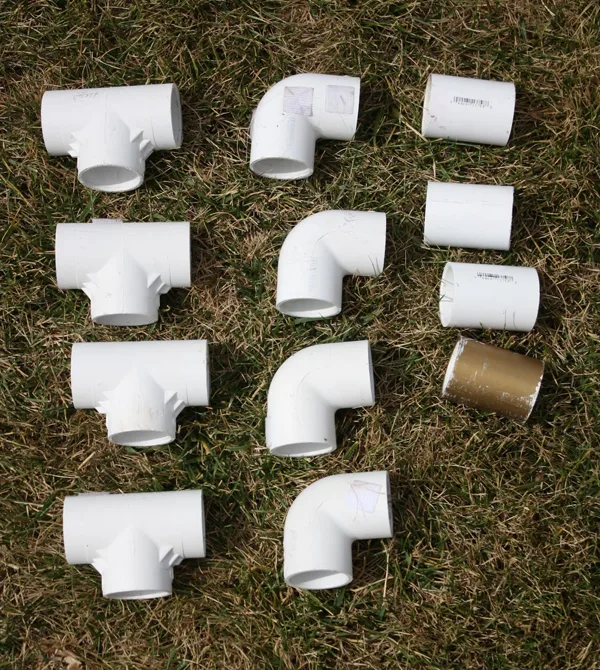 (4) T-fittings
- (4) 90 degree elbow fittings
- (4) couplers
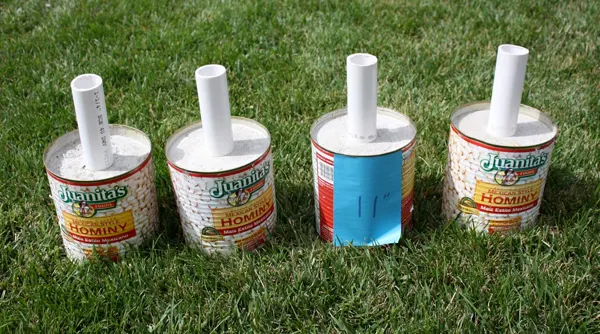
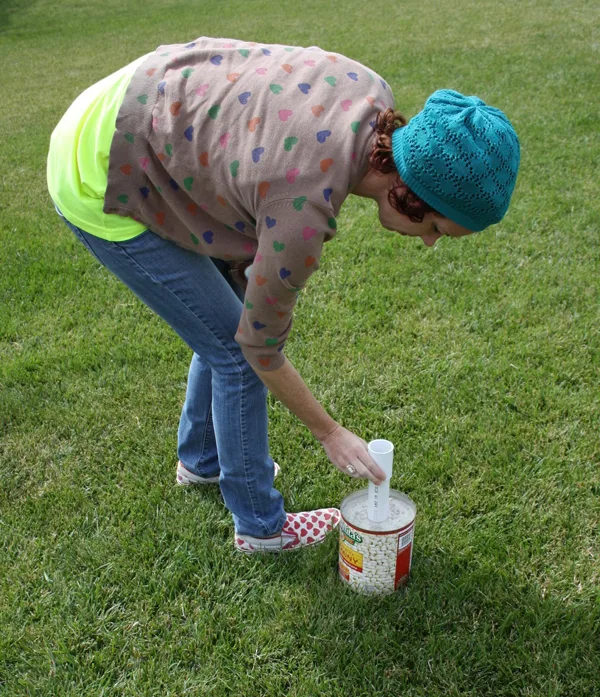
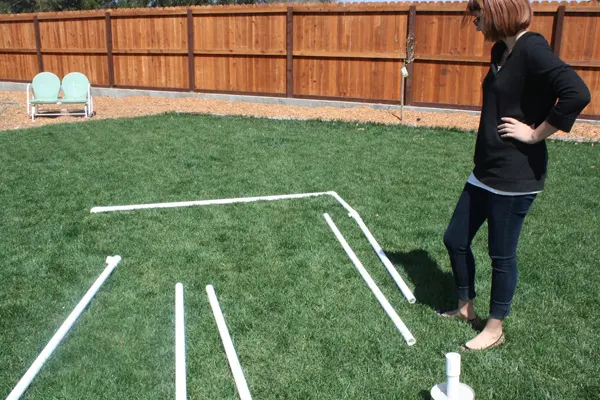
Insert couplers on 11″ pipe
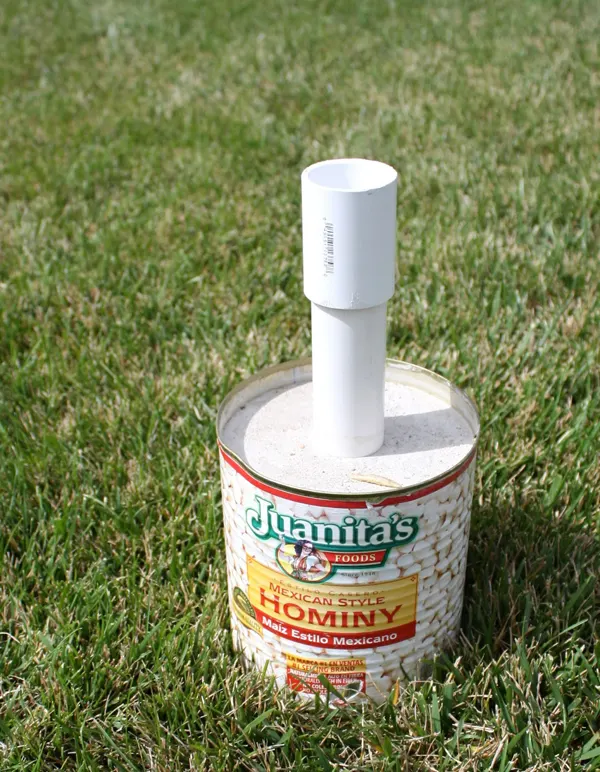
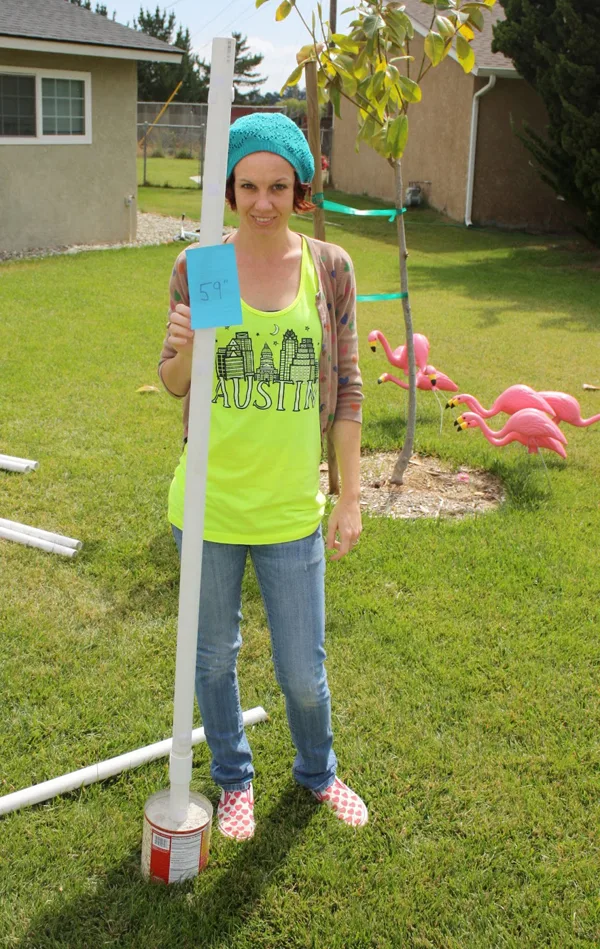
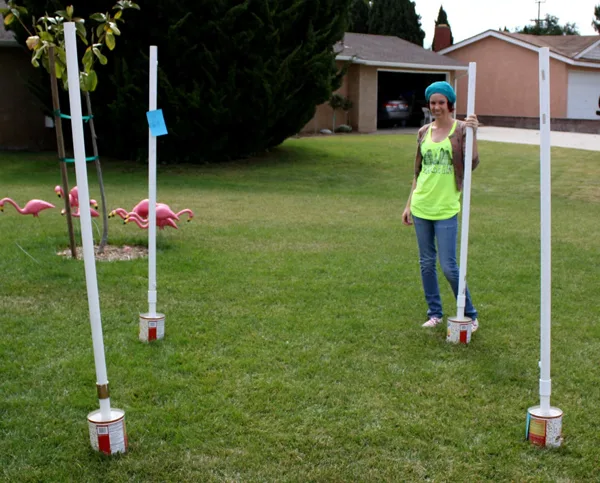
Place the (4) 59″ pieces in each coupler
Frame is starting to come together.
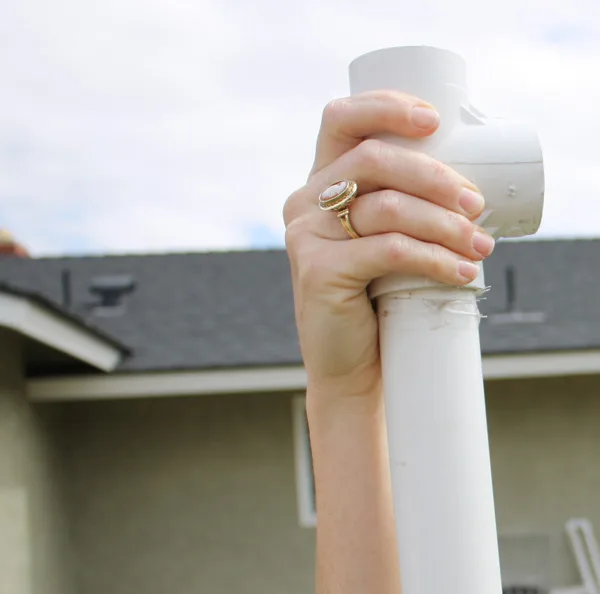
Now place the T-fittings on top of the 59″ pipe
Insert the 48″ PVC pipe inside the T-fittings on both the front and back pipes.
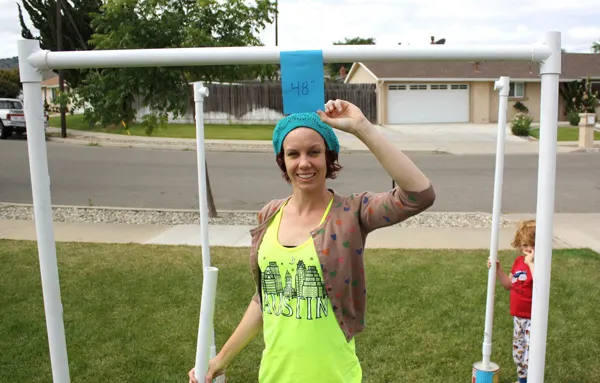
Should look like this from the front.
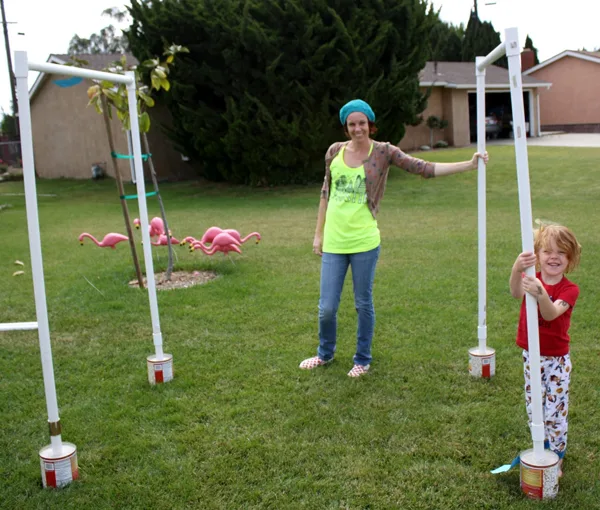
Place (2) 2″ couplers on top of the T-fittings in the front
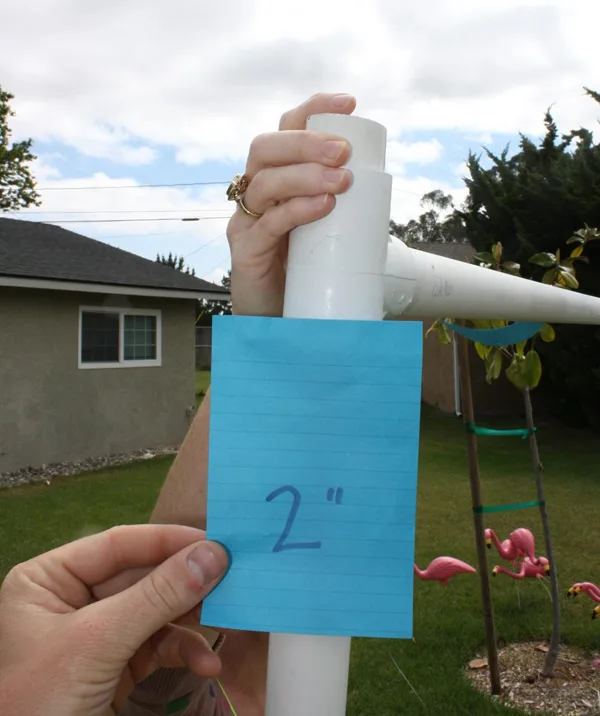
Now place the elbow pieces on the 2″ pieces
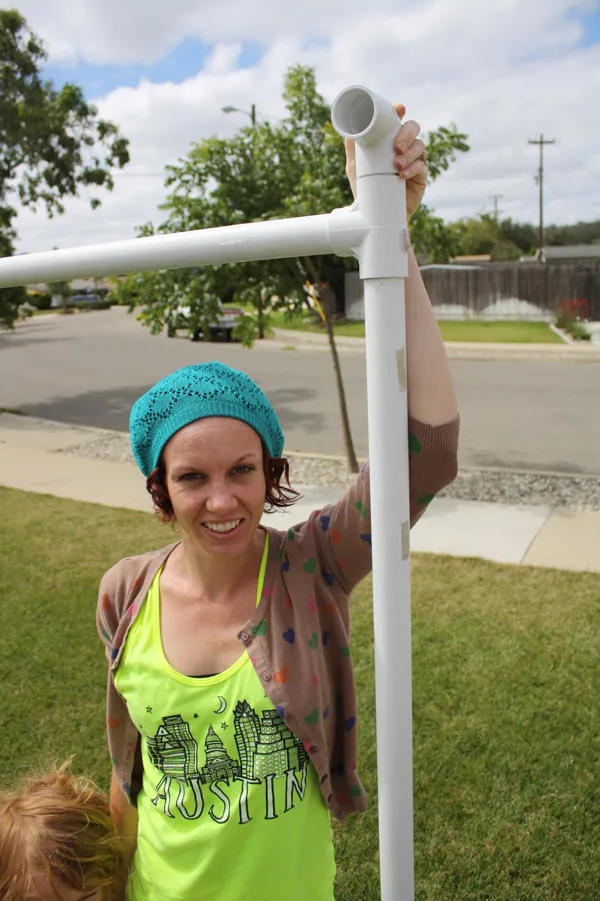
Insert the 78″ PVC pipe between the two elbows
Place (2) 24″ pipes into the T-fitting on the back side of your frame
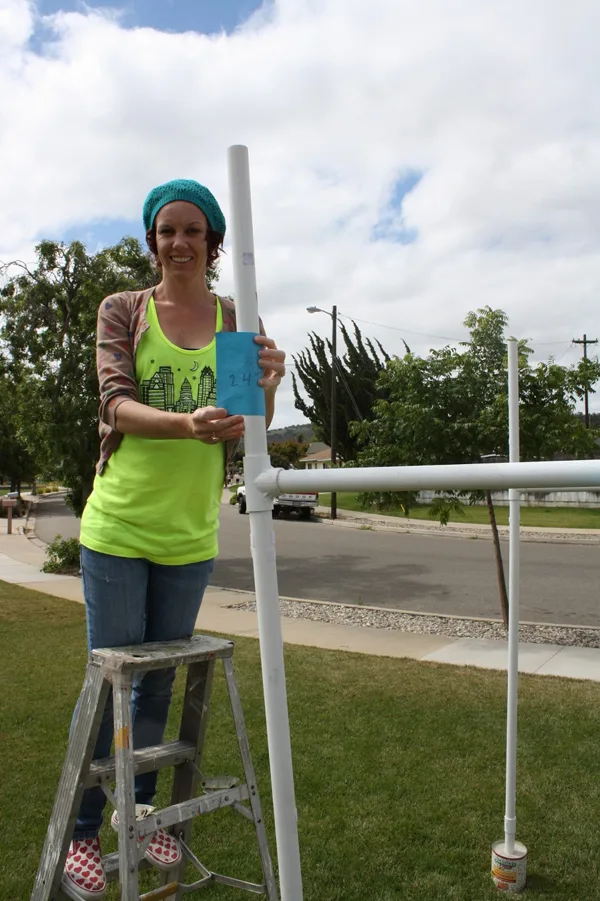
Set the remaining elbow pieces on top of the 24″ piece
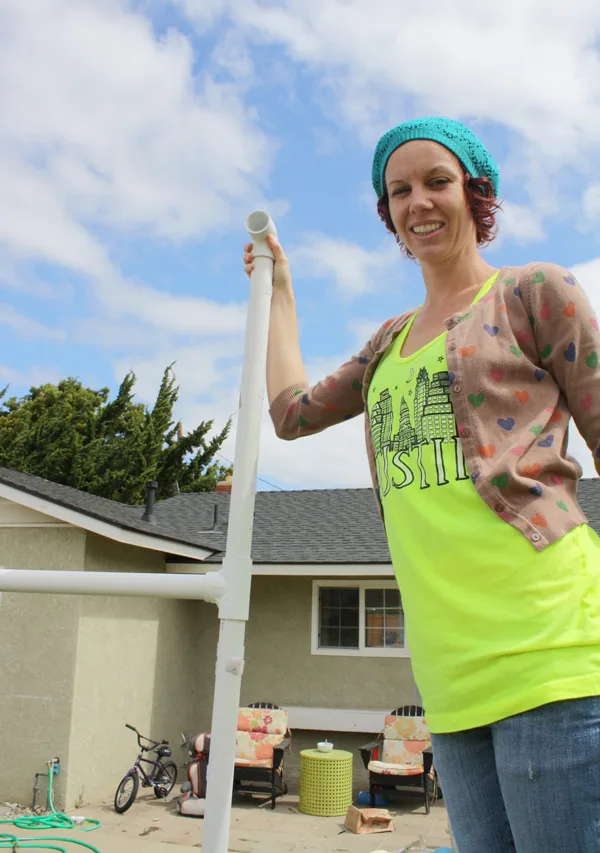
Now insert the 78″ PVC pipe between the two elbows
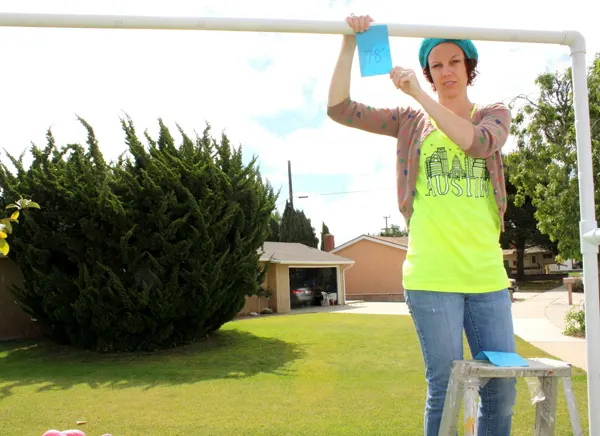
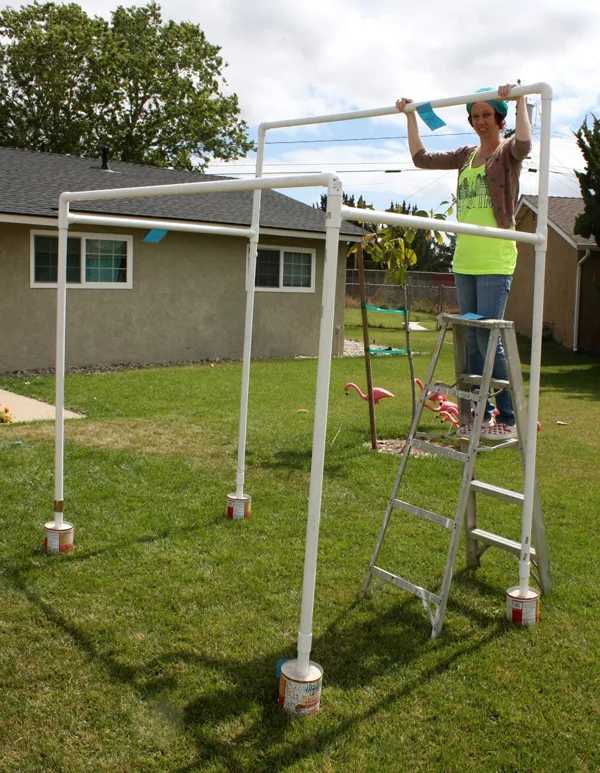
This project took a couple of hours but should be much faster for you since all the math and design has been figured out for you.
TIP #2: When you get the entire thing all put together spray paint small black text on the PVC pipes. Make sure you don’t spray the couplers or you won’t be able to get them off when you disassemble.
TIP #3: Label each piece so that you know where each one belongs. If you don’t, you mind end up looking at the pieces in bewilderment and wishing you had labeled them.
Make the Fabric Canopy
Sewing Method
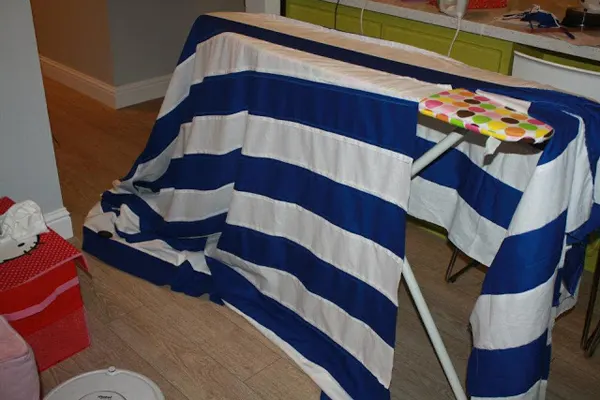
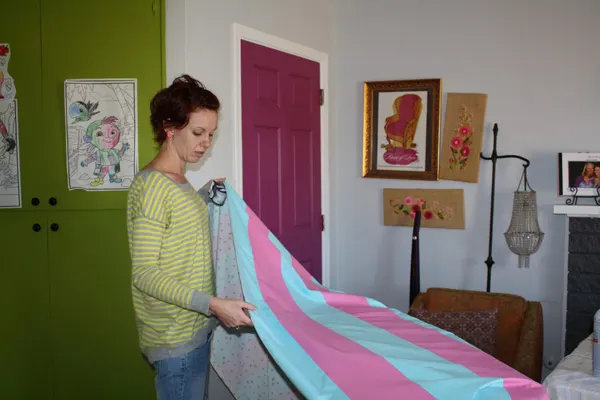
No Sew Method
How to Install the Fabric Canopy
Attach the canopy to the PVC pipe frame with Velcro squares. Apply a square to the upper back 78″ PVC pipe every few inches. You can purchase the sticky back kind but it is best to sew them on so they don’t come off during installation or on a windy day.
Have someone hold the frame so you can focus on attaching the fabric canopy. Move along the edge of the canopy and attach a Velcro square to the PVC pipe so it matches up with the one of the fabric. Pull the fabric canopy to the lower front PVC frame and attach and secure the Velcro squares as you did on the back side.
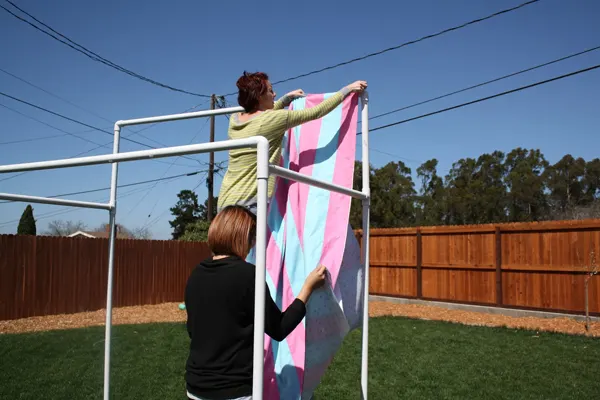
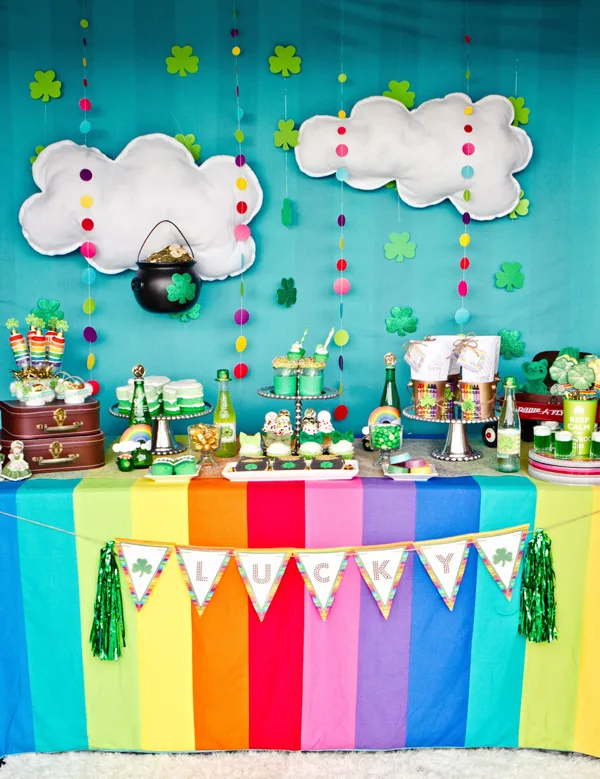
Use the back bar to add a fabric backdrop. You can use Velcro squares or attach with packing tape or photography clamps. You can read more about how Kenna uses backdrops in her Top 10 Party Trends post.
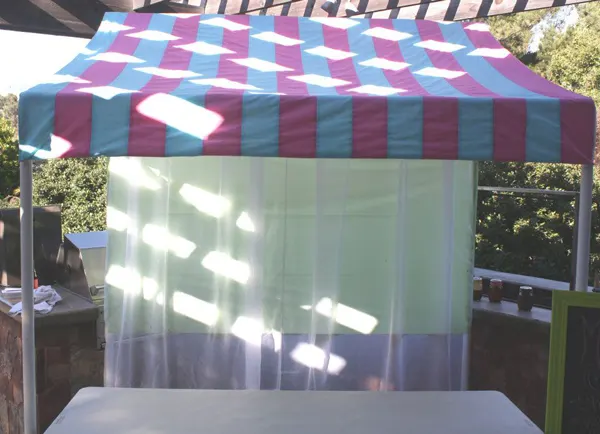
If you look closely you can see how she attached the Velcro squares.
To create this scalloped look, cut small doilies in half and attach with double stick tape.
