This year I am starting a new series called Tech Tuesday. I can’t guarantee I will post every Tuesday (to be honest I probably won’t) but once in awhile I will share some techy type thing I have learned that has helped me. Today I am sharing a new little trick I picked up that will help make your articles more “Pinterest friendly”, won’t junk up your post, and involves very little code.
Research has proven that the images that get seen on Pinterest and re-pinned most often are those long vertical types. Those are great for getting traffic to your blog but they kind of muck up a post. They also are not very top image friendly when you start posting on social media. I learned a neat little trick that has made a big difference in my Pinterest traffic and doesn’t mess with my post images. You can still create those great eye catching images for Pinterest but I am going to show you how to hide them.
Here is my Pinterest Valentine’s Day Board. The horizontal images get lost in the crowd and the vertical ones stand out…
Follow Made by a Princess’s board Valentine’s Day on Pinterest.
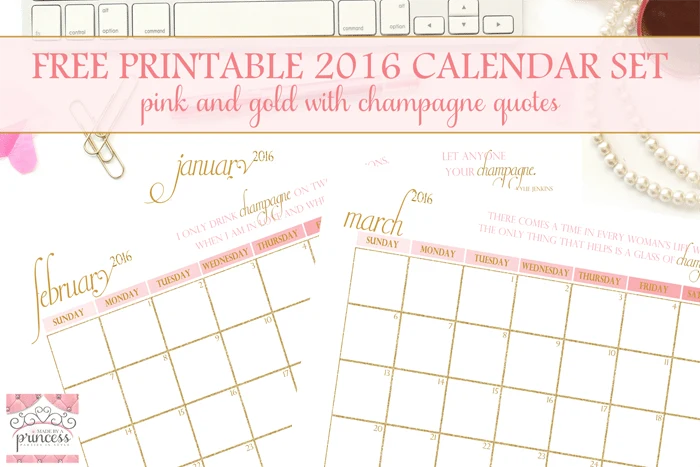
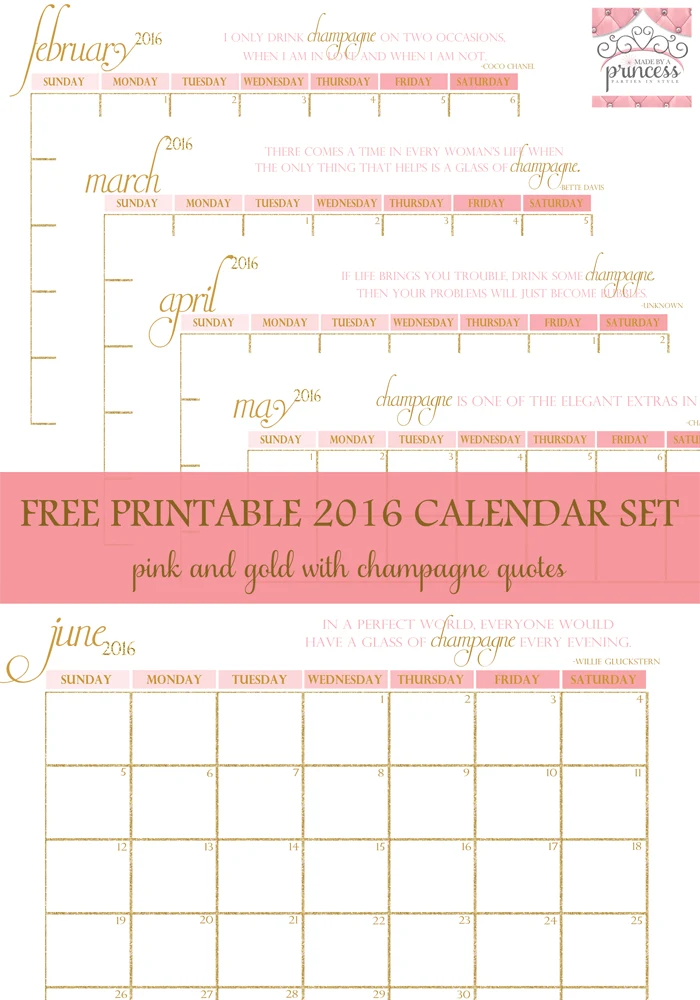
Below are two images I created for my recent 2016 Free Printable Calendar post.
This is the image you will notice is my main photo and the one that shows when I posted on social media…
This is the one I created specifically for Pinterest. You will not see this in my post anywhere until you go to Pin an image. See for yourself…check out the post here.
When you try to pin an image, however, it pops up as an option. Pretty cool right?!
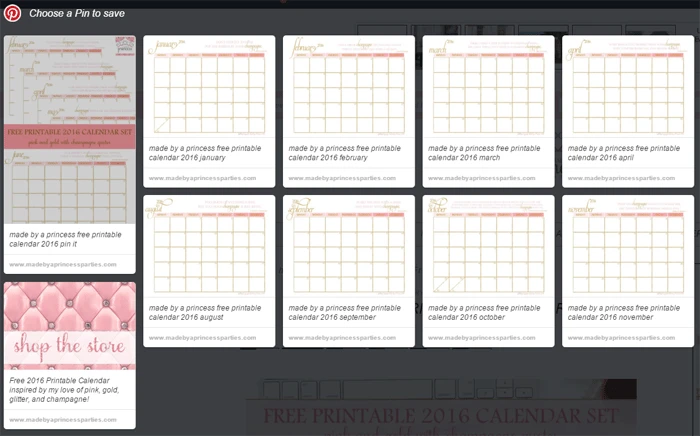
How did I do that you ask? Oooooh I’m gonna tell ya! Here are the easy steps…
- After you have written your post, go to the bottom of the page and add your Pinterest friendly image using “Add Media”.
- Click on the “Text” tab…you want the html view for this next part.
- Before the image add this code:
<div style=”display: none;”>
- After the image add this code:
</div>
Here is a sample of how the code should look (replacing your own image html of course):
<div style=”display: none;”><img class=”aligncenter size-full wp-image-13449″ src=”https://www.madebyaprincessparties.com/wp-content/uploads/2016/01/made-by-a-princess-free-printable-calendar-2016-pin-it-700.png” alt=”made by a princess free printable calendar 2016 pin it” width=”700″ height=”1000″ /></div>
That’s it. Super easy and not too techy. One more tip…I wouldn’t suggest putting your hidden image anywhere but at the very bottom. I did tried placing it near the top and everything below it disappeared. Sent me into immediate panic! I was able to figure it out but trust me when I say it just isn’t worth the near heart attack when the post you have worked on for a few hours disappears.
I hope you found my How to Hide Pinterest Friendly Image post helpful.
