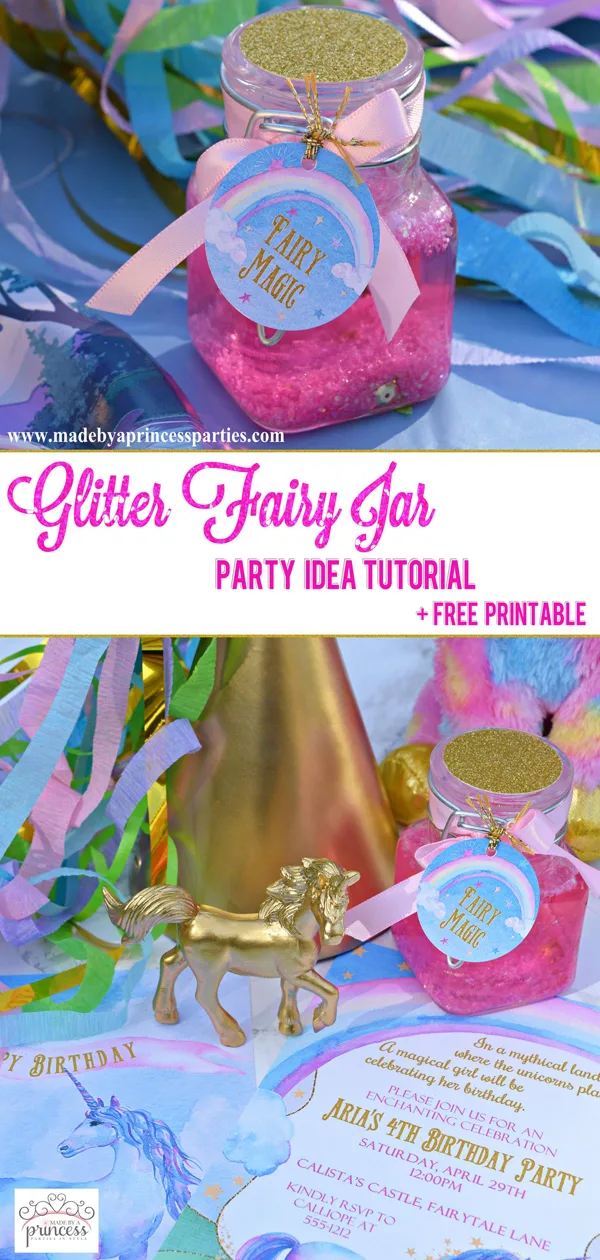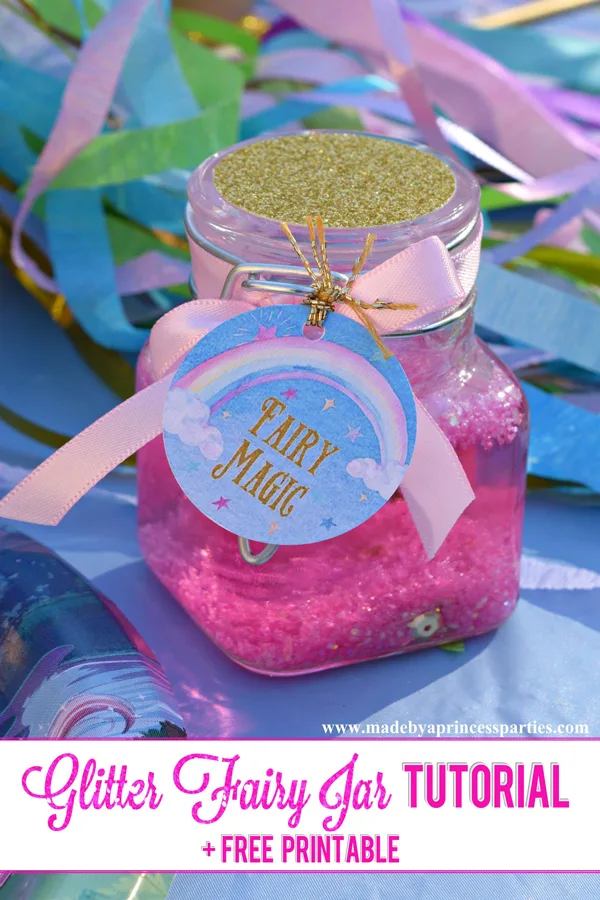
Fairy jars, also known as calm down jars, make a great party favors for unicorn parties, fairy parties, or mermaid parties. You can fill them with sequins and sparkly things and make them any color you want. I’m sharing my super easy Glitter Fairy Jar Party Idea Tutorial with you today so get ready to make some fairy magic!
DIY Glitter Jar Tutorial
When planning out my recent unicorn party photo shoot I had a list of ideas that I wanted to incorporate and at the top were these wonderful glitter jars. I wasn’t exactly sure what I was going to do with them, I just knew I had to create them. Turns out they are really easy and don’t take much time at all. I have even included a free printable “Fairy Magic” tag just like the ones I used in my photo shoot.
You might have seen images of these types of jars floating around the internet for awhile as they are often called “calm down jars.” I think they are great ideas for calm down jars because they really are mesmerizing.
You can add lots of little trinkets in the jars and make them any color of the rainbow. I naturally chose pink because it’s our (my daughter’s and mine) fave but any just about any color would work. I probably would steer clear of really dark colors unless you plan on putting a submersible light in them. If I were going to host an evening fairy or unicorn party I totally would have done that.
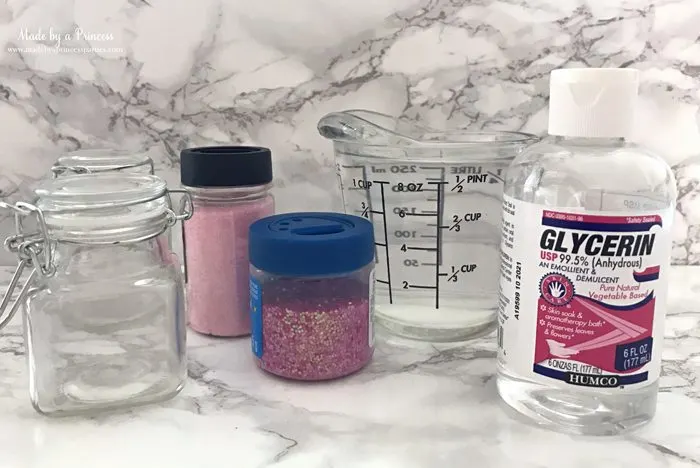
Supplies for Glitter Jars
Before we get started this is what you will need:
- Glycerin (can find at your local big box store; will run you about $3.50)
- Glitter
- Sequins
- Small jars
- Water
- Submersible lights (optional)
- Glitter cardstock
- Ribbon
- Printable Tags
- E6000 or hot glue gun (I prefer E6000)
Make your jar with different types of glitter and add little things like sequins or mini bells.
Fill jar about 3/4 full and added 1 tbsp of Glycerin. 1 tbsp is enough for the size of the jars shown below. Don’t add too much glyercin or it will be too oily and the glitter will clump together and not look very pretty.
You don’t want to fill your jars all the way to the top. Leave some room for shaking.
Choose Any Color Glitter You Want
After adding your Glycerin pour glitter into the jar. I did a mix of fine and chunky glitter that totaled roughly 1.5 tbsp worth. There is no magic formula for this part…add at least enough to coat the bottom of the jar about 1/2″ thick.
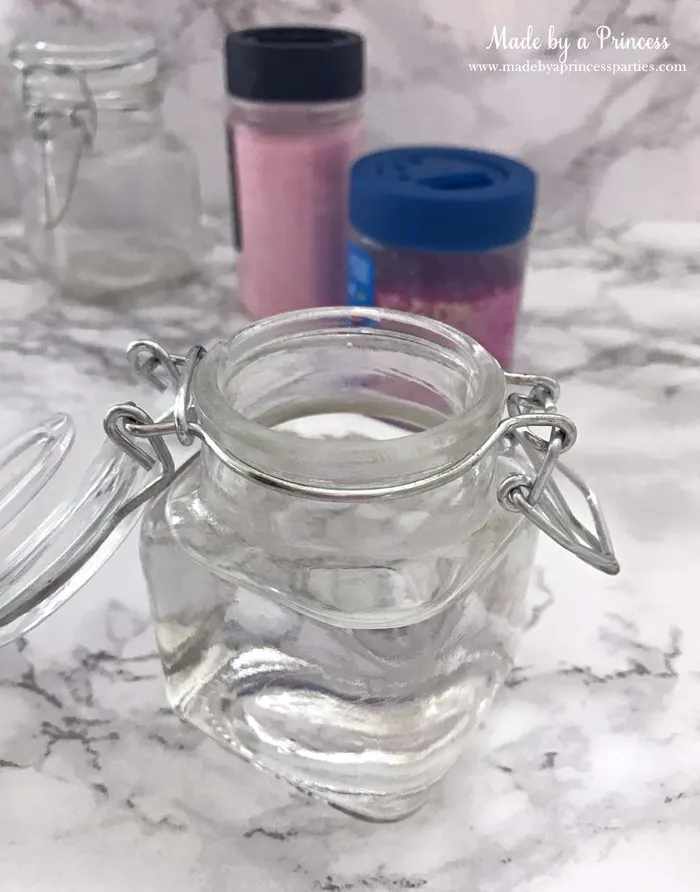
Seal DIY Glitter Jars
I didn’t want the jars to leak or the girls to be able to open the jars and make a big glittery mess so I sealed the jar shut with E6000 and let dry overnight. You can use a hot glue gun but I don’t think it provides as good a seal as the E6000.
If you plan on adding a submersible light you won’t be able to seal the jars so make sure you choose a jar that won’t leak.
Once the glue has dried add ribbon and free printable tag. I wanted to top of the jar to be pretty too so I punched a 1.5″ gold cardstock circle using a craft punch.
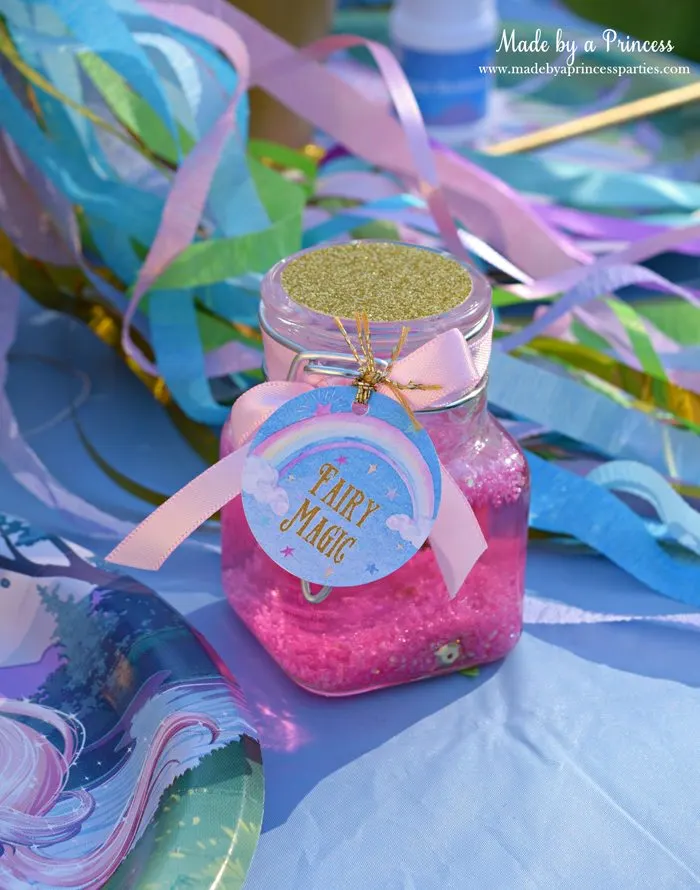
My little guests loved these party favors. My daughter keeps hers on her nightstand and using it to “call” the fairies. Hey…whatever works!
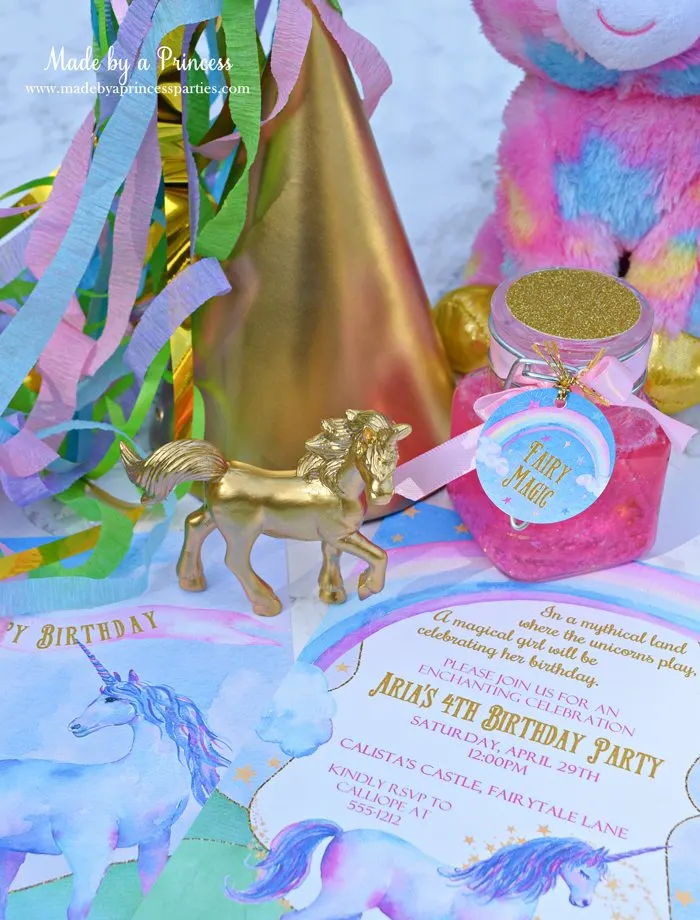
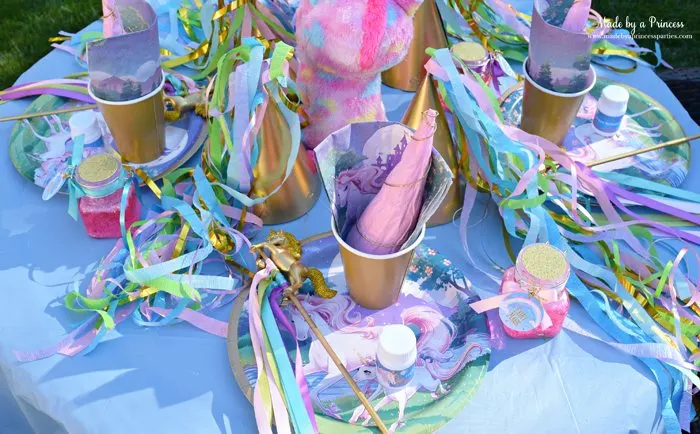
Here is what our magical unicorn party table looked like…custom crepe paper party hats, unicorn tails I pinned on their skirts, unicorn wands, unicorn horn wrapped popcorn, and bubbles. You can find all of the unicorn party details including the link for more free printables.
FREE Fairy Magic Glitter Jar Tag!
Want the Fairy Magic tags featured in this post? Join my Made by a Princess Castle Community and have access to my secret VIP (Very Important Princess) resource library. There you will find all of my party and holiday printables!
I hope you enjoyed my Glitter Fairy Jar Party Idea Tutorial. What color would you make?
