Get crafty this Halloween with these DIY Halloween Ornaments! Whether they are silly, spooky, creepy, or scary, they are sure to make someone smile!
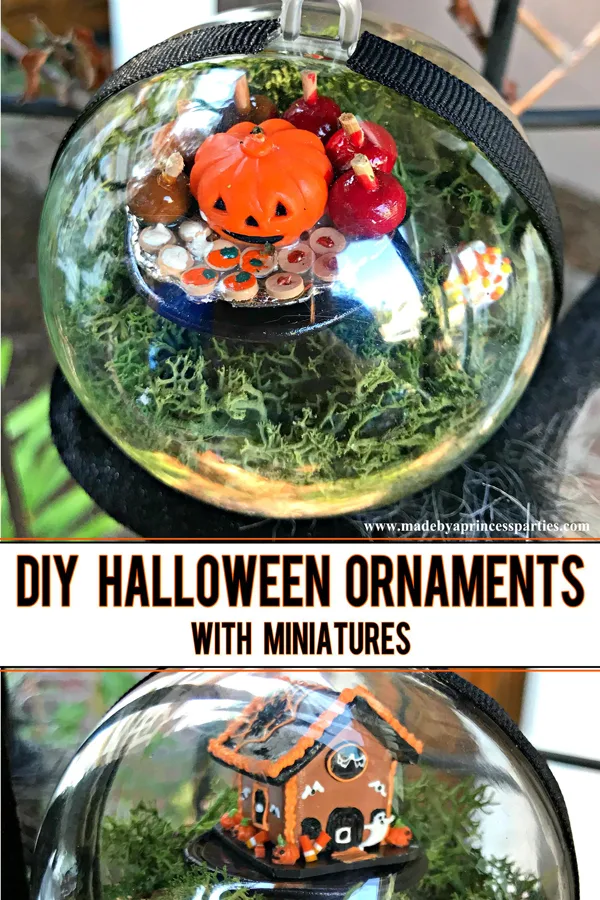
If you love Halloween and miniatures you will adore this DIY Halloween Ornament craft. They are so fun to design and create and they look super cute hanging from a spooky spider!
DIY Halloween Ornaments
A Great Halloween Craft Idea for Adults
I love getting the house ready for the holidays. I love the decorations, the festivity, the fun, and the joy it brings my kids. I think the only person I know who might love it more than I do is my friend, Andrea. I am pretty sure that if she could keep holiday decorations up year round she would. She has some pretty awesome Halloween house decorations in her house and on her front porch. She also really likes miniature things…a lot. When Miniatures.com asked me if I wanted to create a Halloween project for them, I just had to ask Andrea help me create these Halloween Christmas Ornaments.
What You Need to Make Halloween Ornaments
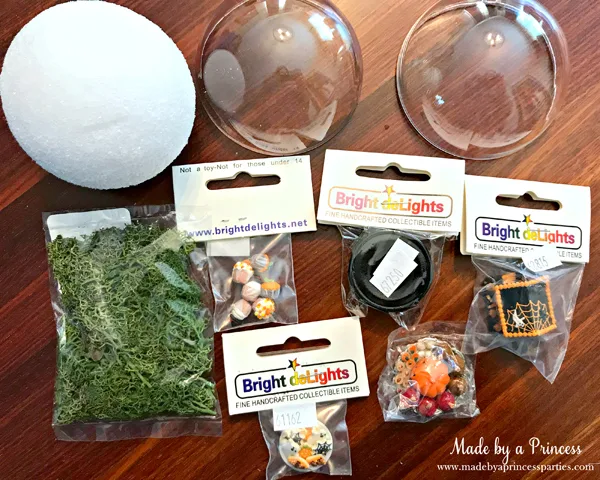
Before you get started you are going to need a few things. First, pick out a few plastic ornaments, some moss, and miniature decorations from miniatures.com. I went with a Halloween candy theme and chose mini cake stands, mini Halloween cupcakes, a Halloween gingerbread house, a cookie plate, and a Jack o’ Lantern on a tray of Halloween treats. All that was missing were mini candy corns! No worries, we ate plenty of candy corns while we created these Halloween crafts.
Next head to your local craft store and pick up some ribbon and maybe some extra moss. Once you’ve got all your craft supplies prepare your work station by setting down a cutting mat and grabbing an Exacto knife, a large kitchen knife, Mod Podge, and a hot glue gun.
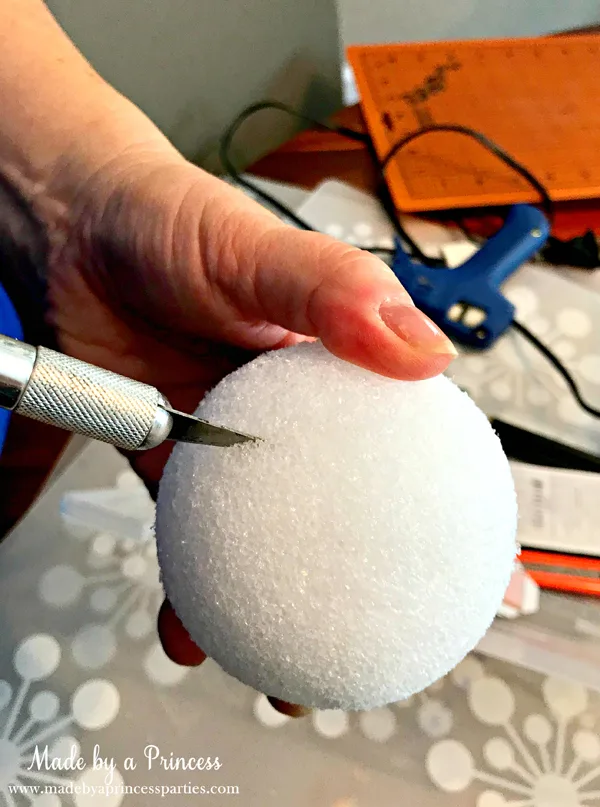
Start by scoring the Styrofoam ball all the way around the middle of the ball.
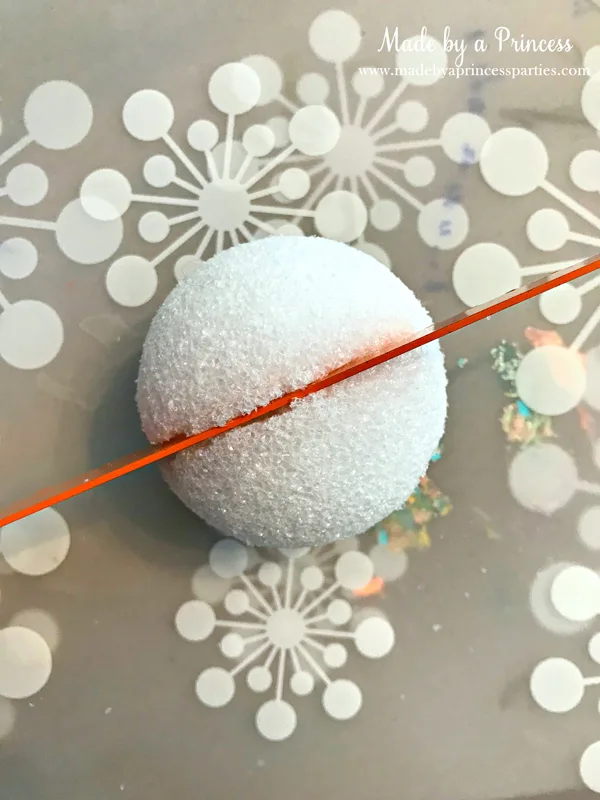
Next, cut the Styrofoam ball in half with a sharp knife.
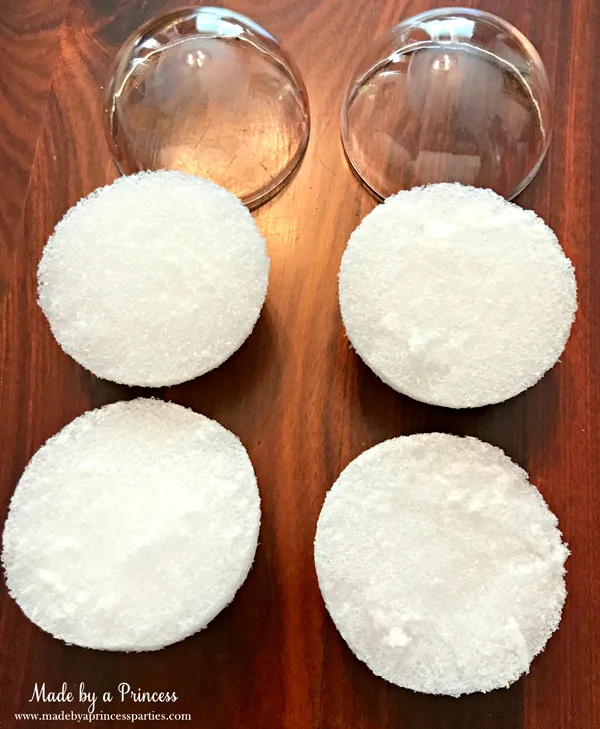
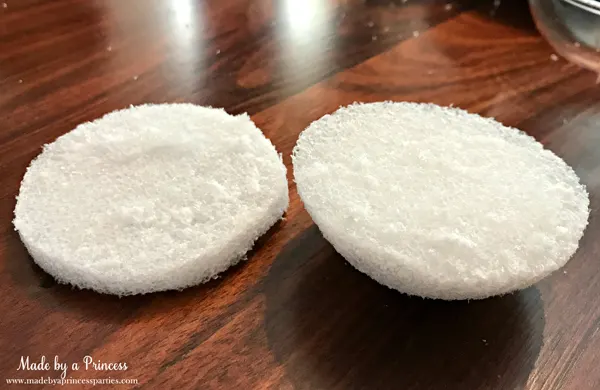
Based on how tall your decorations are, you might need to cut down the Styrofoam just a bit so it will all fit in the plastic ornament.
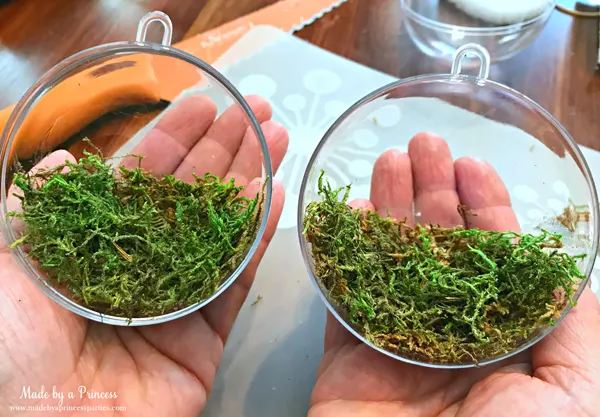
Paint half of the plastic ornament with Mod Podge and stick pieces off moss to the glue. Make sure the greenest side of the moss is facing out, otherwise it will look too brown.
Once you have glued the moss in all of the ornaments you are going to create, hot glue the Styrofoam piece into the ornament.
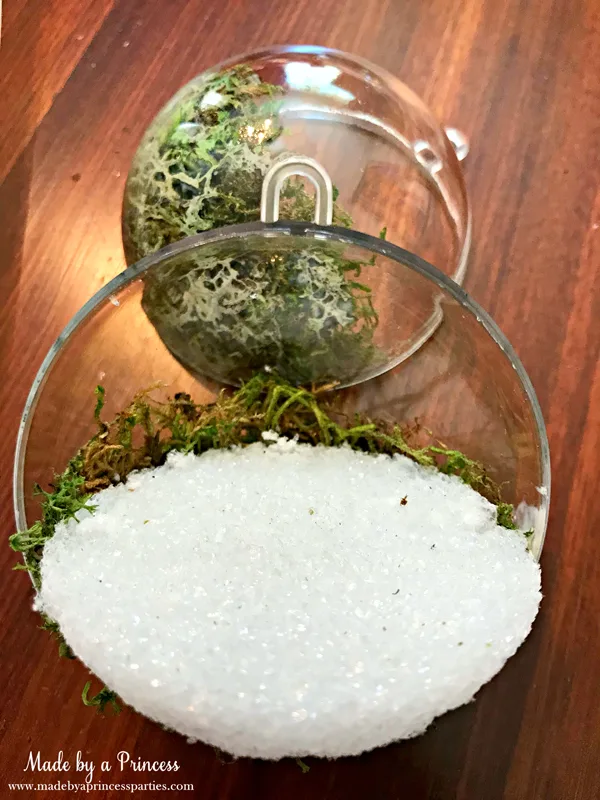
Glue moss to the top and sides of the Styrofoam disk using your glue gun.
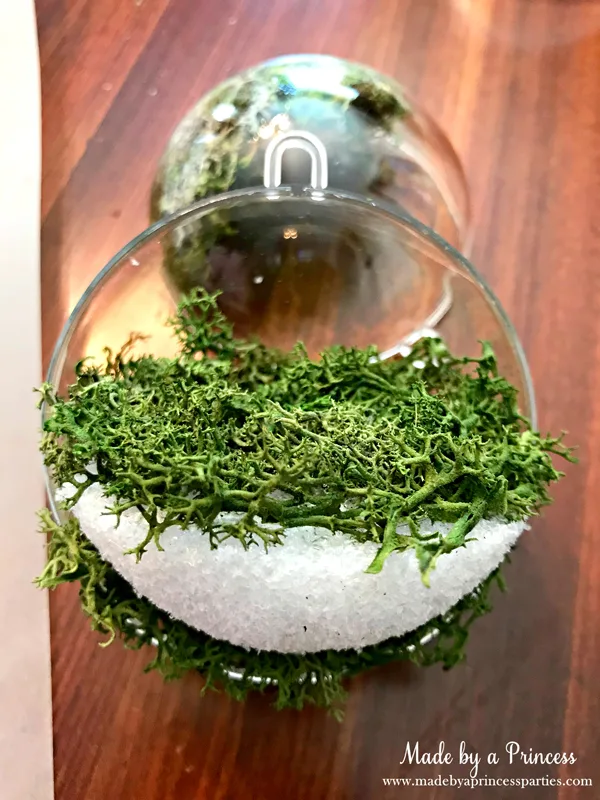
Decorate Your Halloween Ornament with Miniatures
Now the fun really begins! It’s time to decorate your Halloween tree ornaments.
Using your hot glue gun, apply an ample amount of hot glue to the bottom of the mini cake stand and push into the styrofoam with a little bit of force. You want to make sure it’s really set into the Styrofoam so it doesn’t move around.
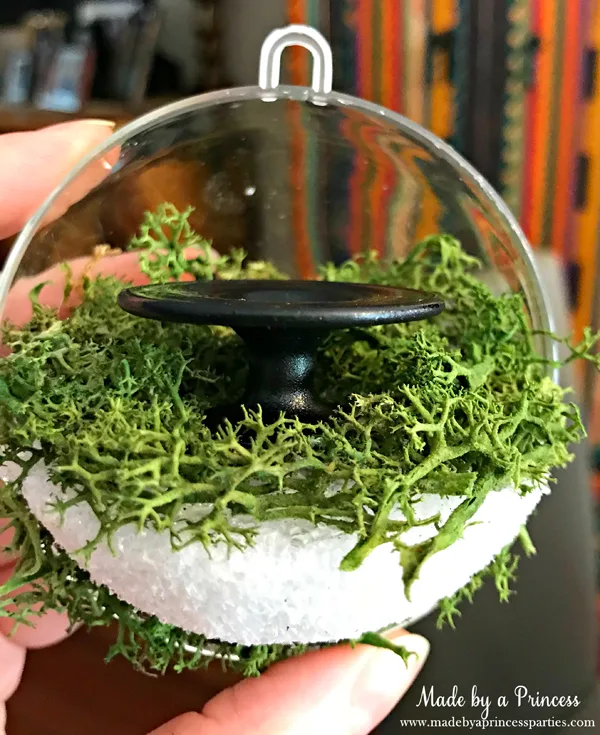
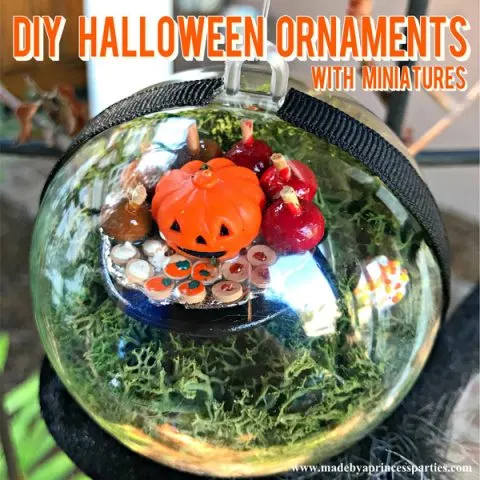
Next, hot glue one of the treats to the cake stand like I did with this cute Halloween pumpkin.
Once you are satisfied with the placement of your decorations, place the other half of the plastic Christmas ornament on your decorated side.
Cut a piece of ribbon the same size as the circumference of the ornament and secure with hot glue. Take a piece of ribbon or clear fishing wire and run it through the top loop so you can hang it up around the house, on a Halloween tree, or on some of your outdoor Halloween decorations as shown below.
That’s it! You’re all set!
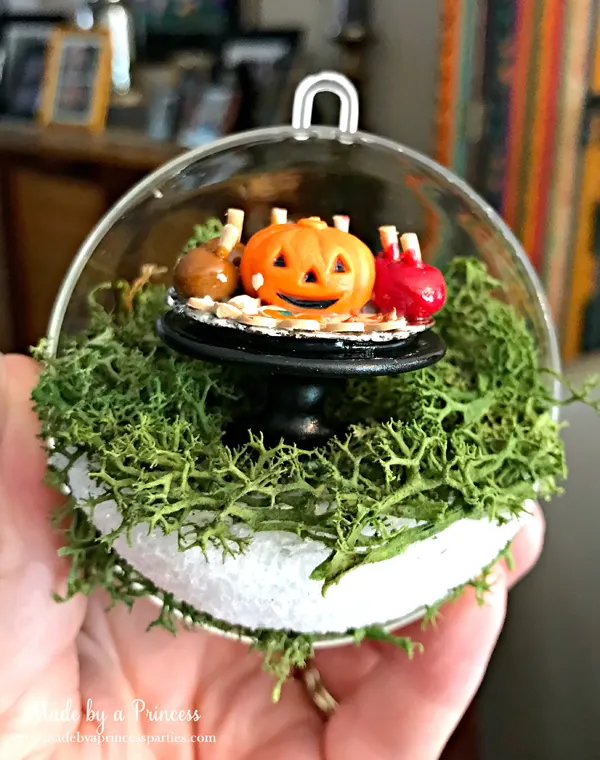
Anyone can buy a Christopher Radko Halloween ornament or an Old World Christmas Halloween ornament but there is just something about making your own Halloween decorations that makes it so special. I like they have kind of a vintage Halloween ornament feel which I’m really digging!
Outdoor Halloween Decorations
Trick or treaters (like my littlest love pictured here) will love looking at these DIY Halloween ornaments!
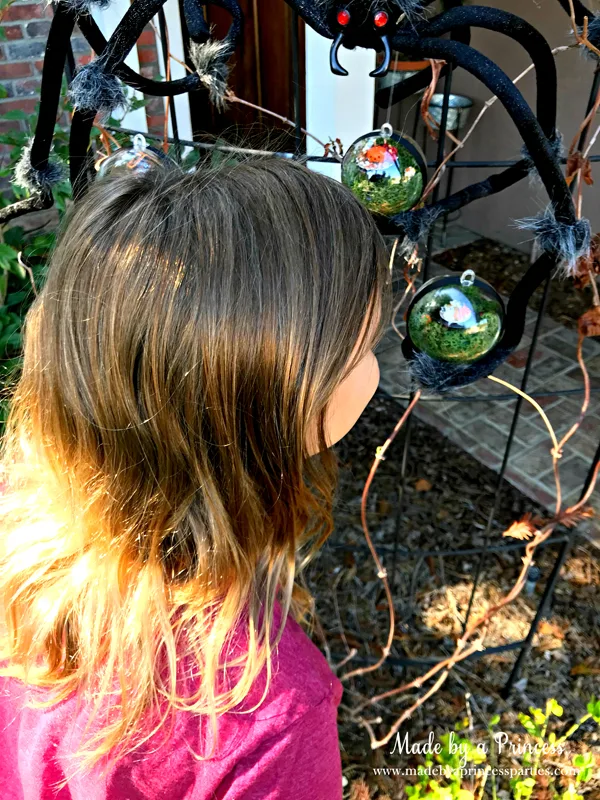
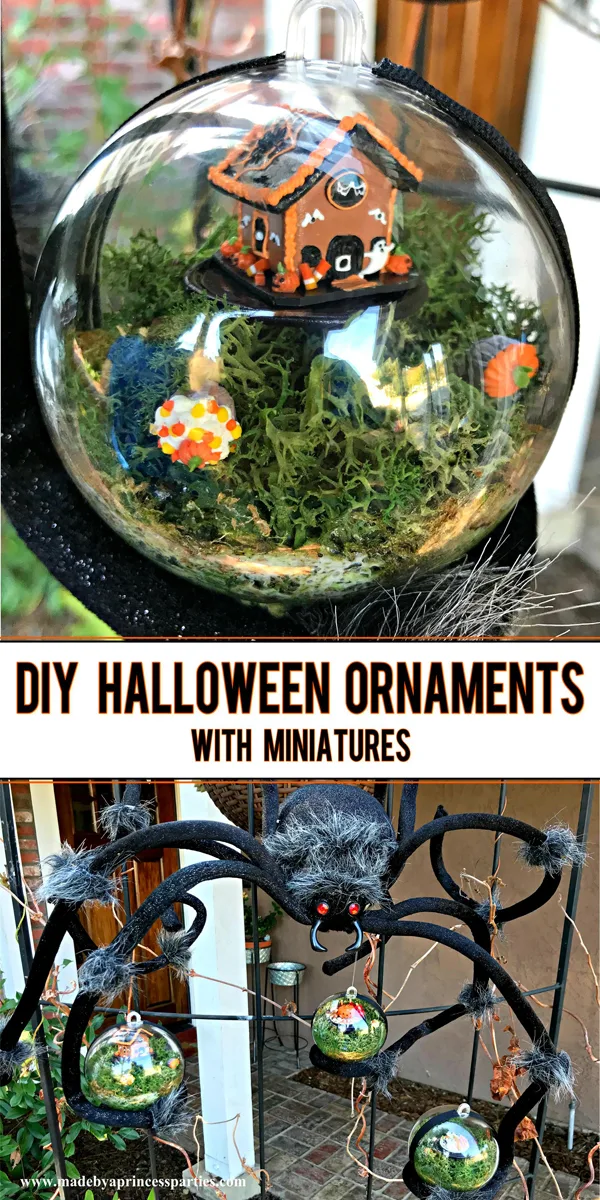
My friend, Andrea, had this great spooky spider hanging on an iron fence outside and the best idea to hang the Halloween ornaments on the spider as if he caught them in his web and was going to eat them. It was so cute!
The arms of this spider are bendable and can be shaped into just about any position. Andrea bent the bottom of the arms so it created a little stand; she’s so clever!
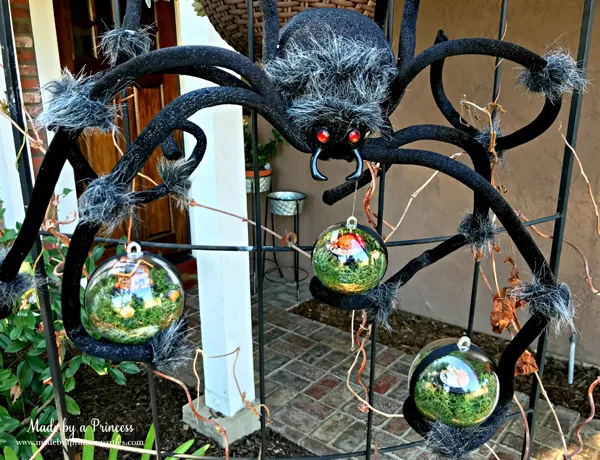
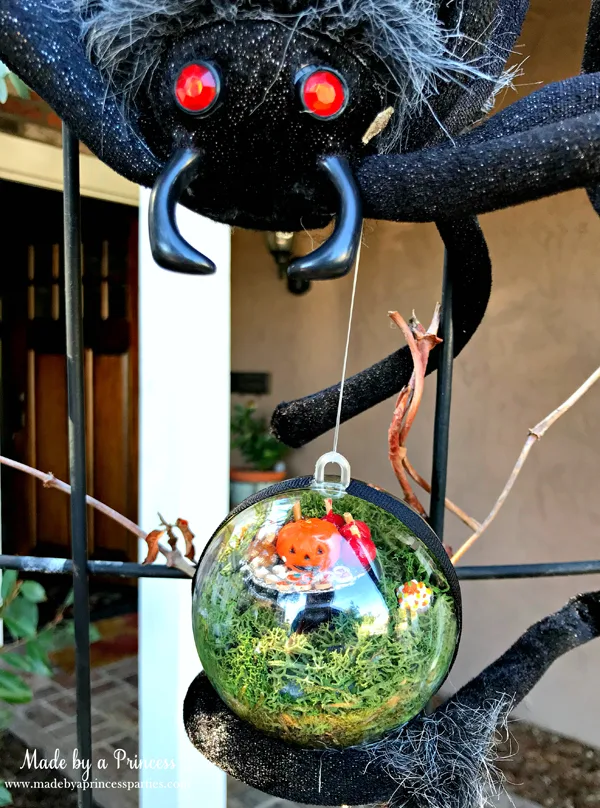
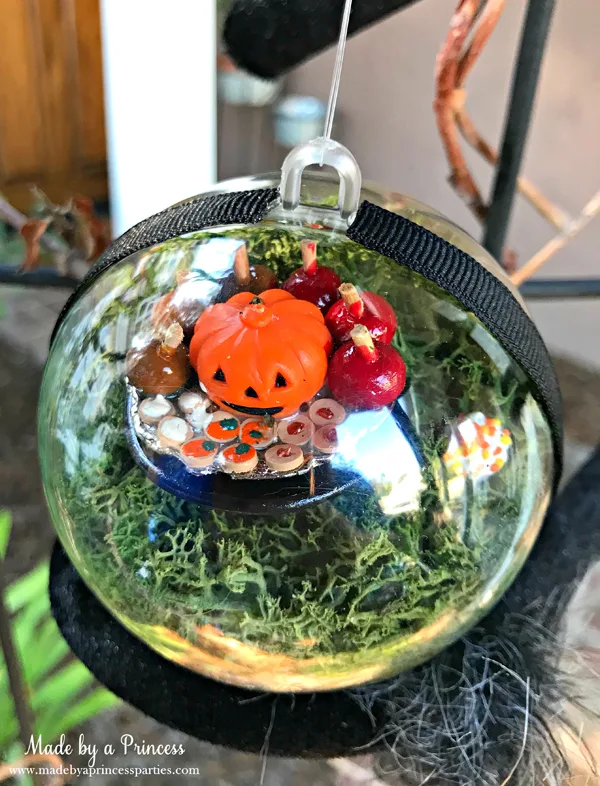
We thought the spider would eat the Halloween pumpkin and candy apples first. What do you think?
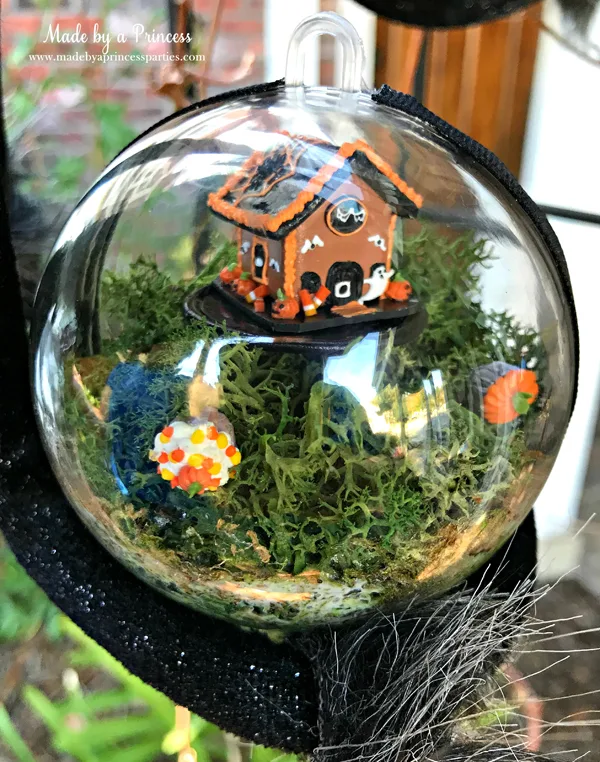
Look at the detail on this Halloween gingerbread house miniature.
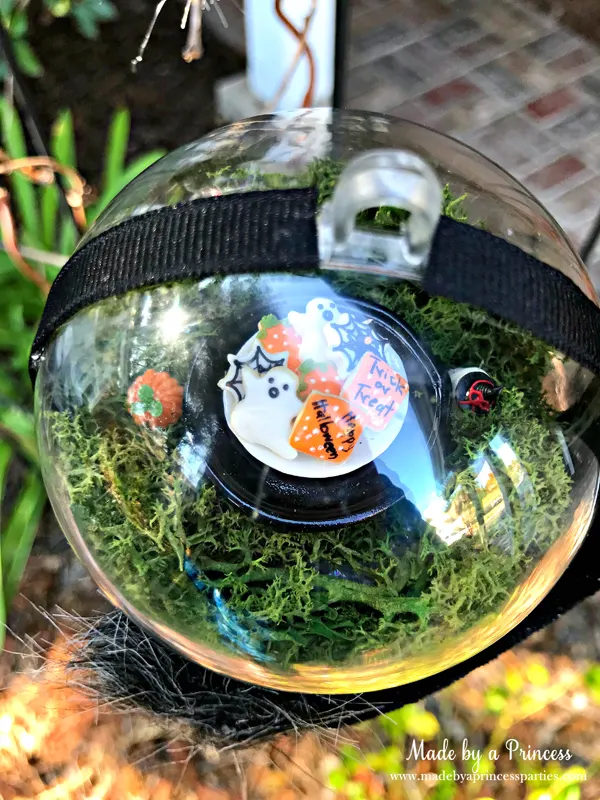
The mini Halloween cookies are adorable.
I hope you liked my DIY Halloween Ornament tutorial. You can print the supply list and directions below using my brand new Craft Card…pretty cool right?!
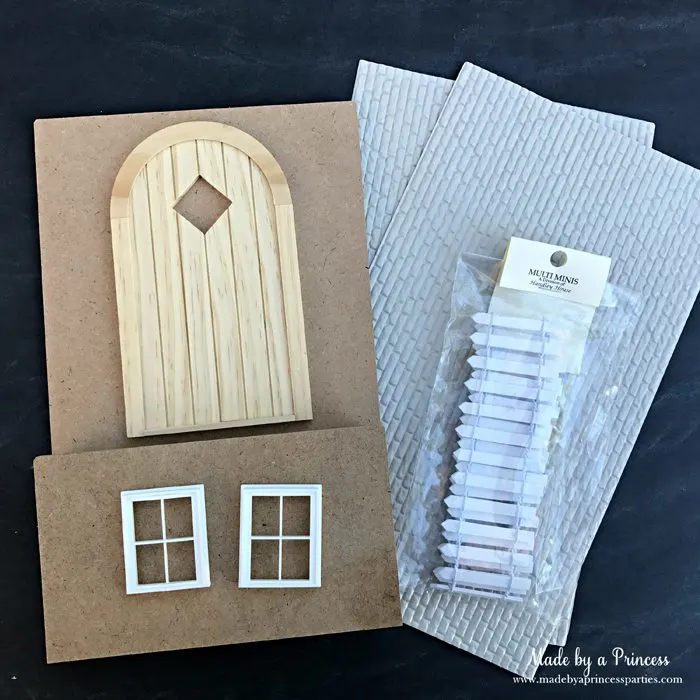
Thank you for stopping by and checking out my post. If you are already looking ahead to Christmas and the arrival of your Elf on the Shelf check out the special door I created for our elves, Snowy & Icicle.
Happy Halloween!
DIY Halloween Ornaments
Get crafty this Halloween with these DIY Halloween Ornaments! Whether they are silly, spooky, creepy, or scary, they are sure to make someone smile!
Materials
- Plastic Ornaments
- Halloween Party Platter
- Haunted Gingerbread House
- Halloween Cupcakes
- Mini Cake Stands
- Reindeer Moss
- Bag of Moss
- Mod Podge
- Ribbon
- Clear Fishing Wire
Tools
- Exacto Knife
- Kitchen Knife
- Hot Glue Gun
- Paint Brush
Instructions
- Score the Styrofoam ball all the way around the middle of the ball.
- Cut the Styrofoam ball in half with a sharp knife.
- Cut down the Styrofoam just a bit so it will all fit in the plastic ornament if necessary.
- Paint half of the plastic ornament with Mod Podge and stick pieces off moss to the glue. Make sure the greenest side of the moss is facing out, otherwise it will look too brown.
- Hot glue the Styrofoam piece into the ornament.
- Glue moss to the top and sides of the Styrofoam disk using your glue gun.
- Using your hot glue gun, apply an ample amount of hot glue to the bottom of the mini cake stand and push into the Styrofoam with a little bit of force. You want to make sure it's really set into the Styrofoam so it doesn't move around.
- Hot glue one of the treats to the cake stand.
- Once you are satisfied with the placement of your decorations, place the other half of the plastic Christmas ornament on your decorated side.
- Cut a piece of ribbon the same size as the circumference of the ornament and secure with hot glue. Take a piece of ribbon or clear fishing wire and run it through the top loop so you can hang it up around the house, on a Halloween tree, or on some of your outdoor Halloween decorations.
- That's it! You're all set!
