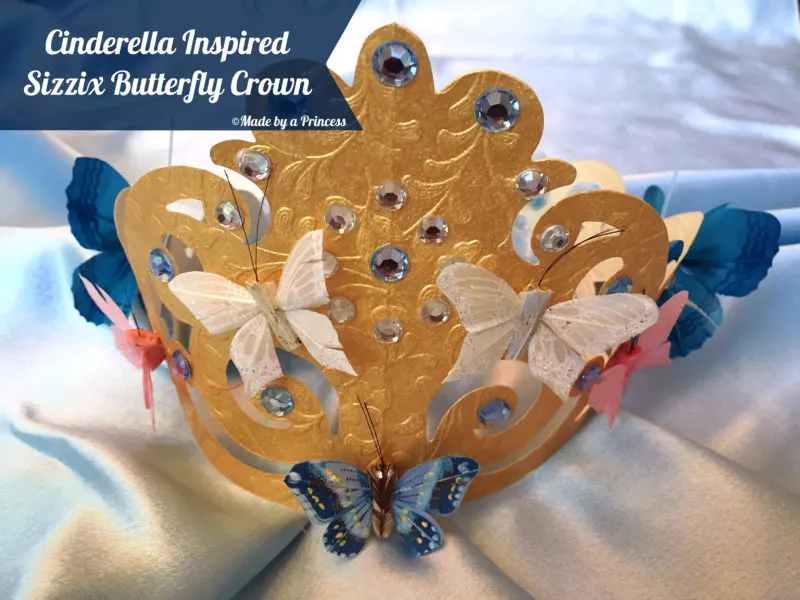
A couple months ago we celebrated my daughter’s 4th birthday and it was a Cinderella inspired theme. We played a number of princess type games but the favorite was definitely crown making. All of the little girls gathered around the table (the only time we could get them to sit!) and they very meticulously placed their rhinestones and chose their butterflies from the beautiful selection of goodies from PaperMart. My little girl still wears her crown and the other little princesses are still talking about how much they loved creating their very own crowns.
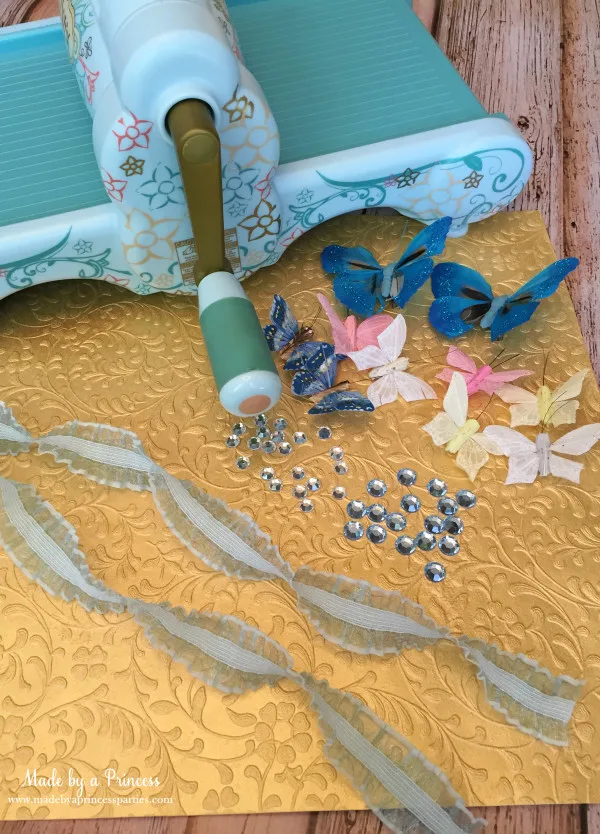
For this Cinderella Inspired Butterfly Princess Crown project you need a Sizzix Machine (I use the Big Shot), the Sizzix Cartouche Crown, Cutting Pads (I love my new pink ones!), some pretty scrapbook paper (12×12 size), some embellishments, ribbon, and glue, glue gun, or glue dots. If you are doing this at a party I highly recommend using something like glue dots because it is less messy and you don’t have to wait for them to dry.
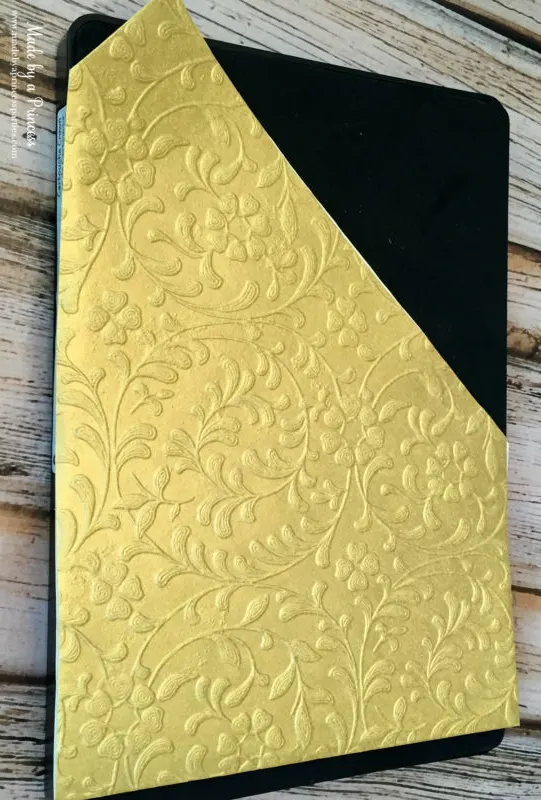
Take your scrapbook paper and fold on the diagonal so the opposite corners line up.
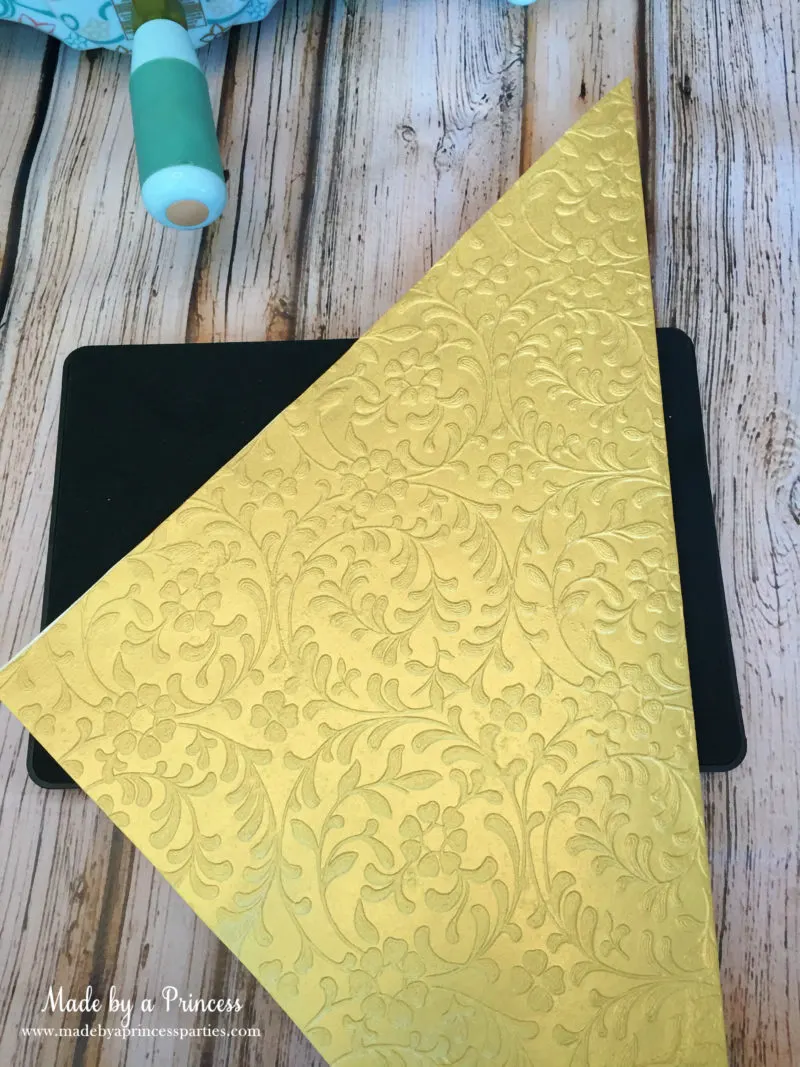
Place on the Sizzix Cartouche Crown Die and make sure point covers the bottom corner of the crown.
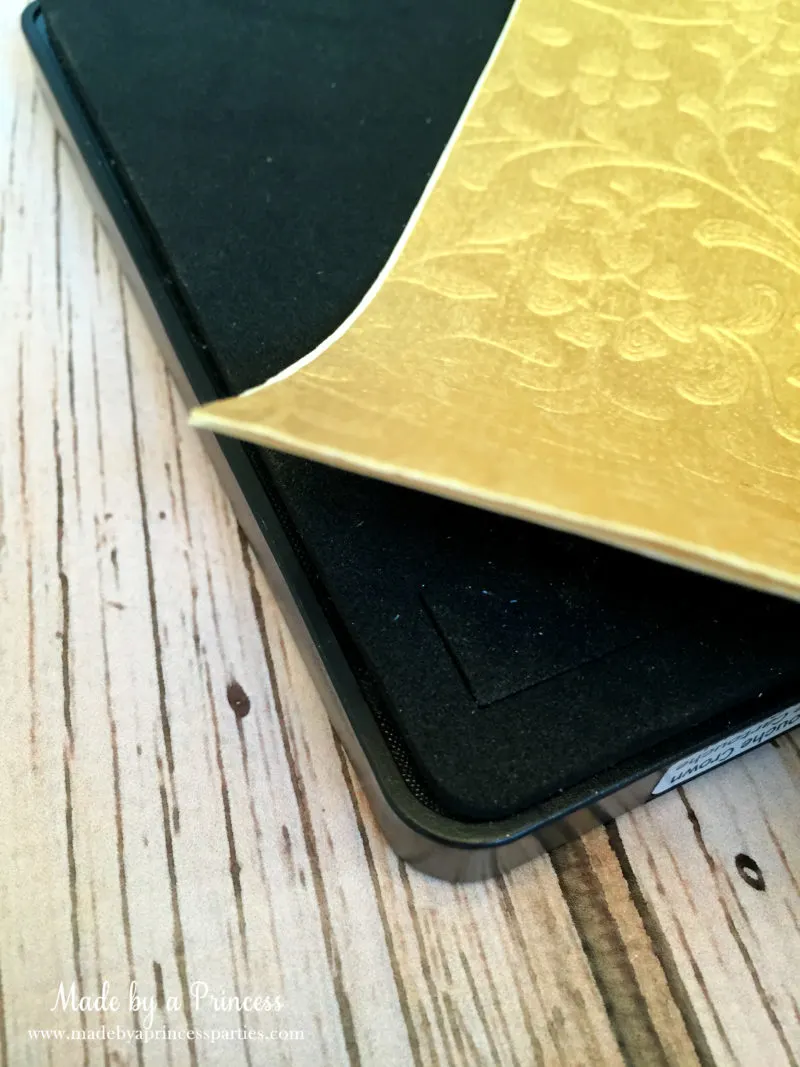
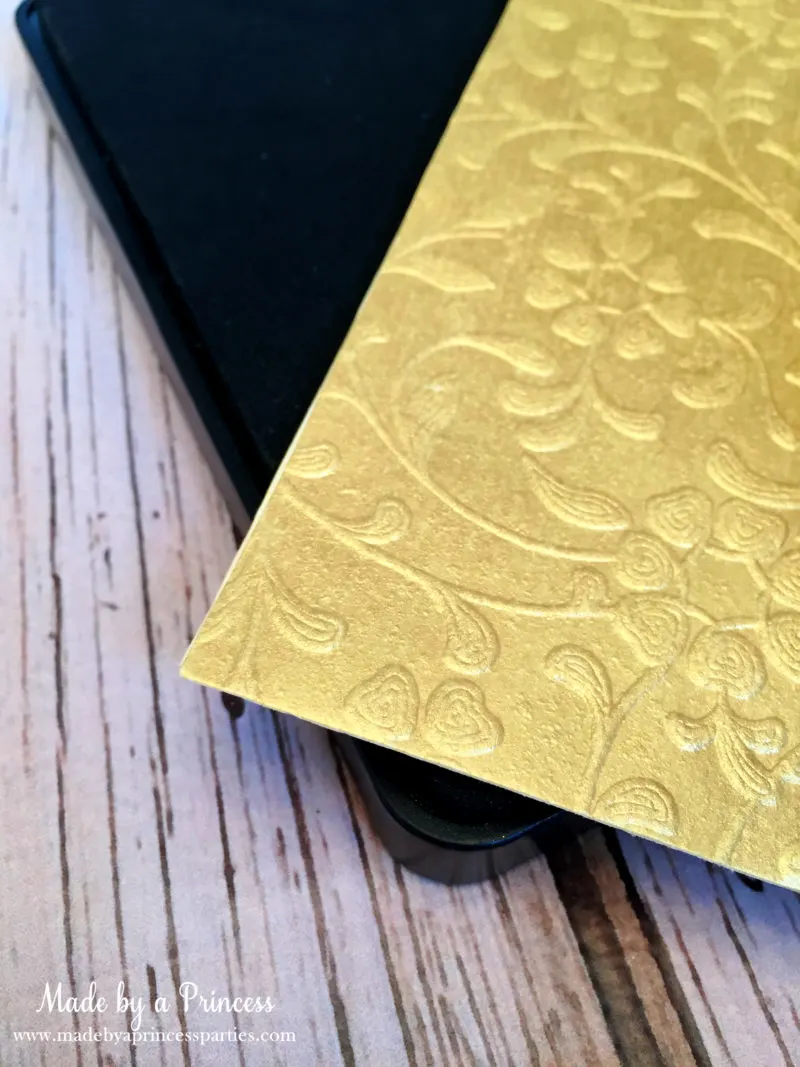
Score the paper over the edges of the die so you can easily see where to cut.
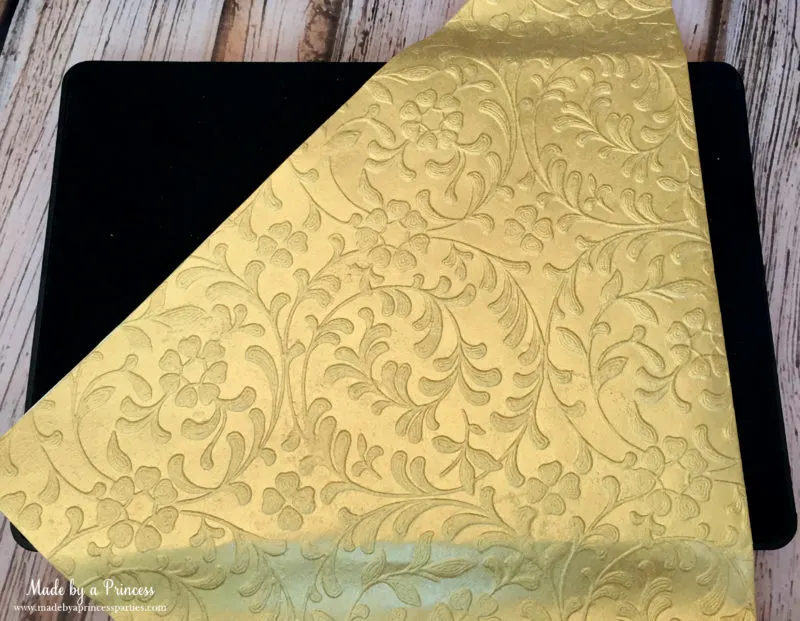
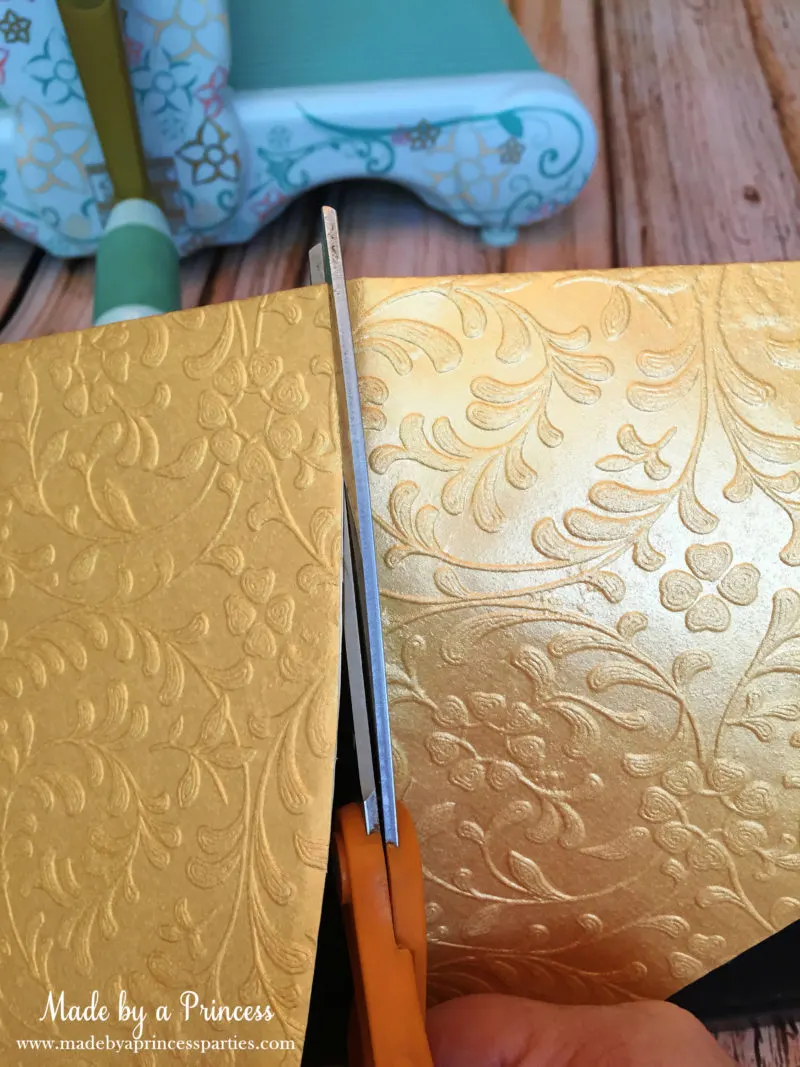
Cut along scored lines and set left over scraps aside. You can definitely use for another project.
Place cut paper on the die making sure you are covering the image completely.
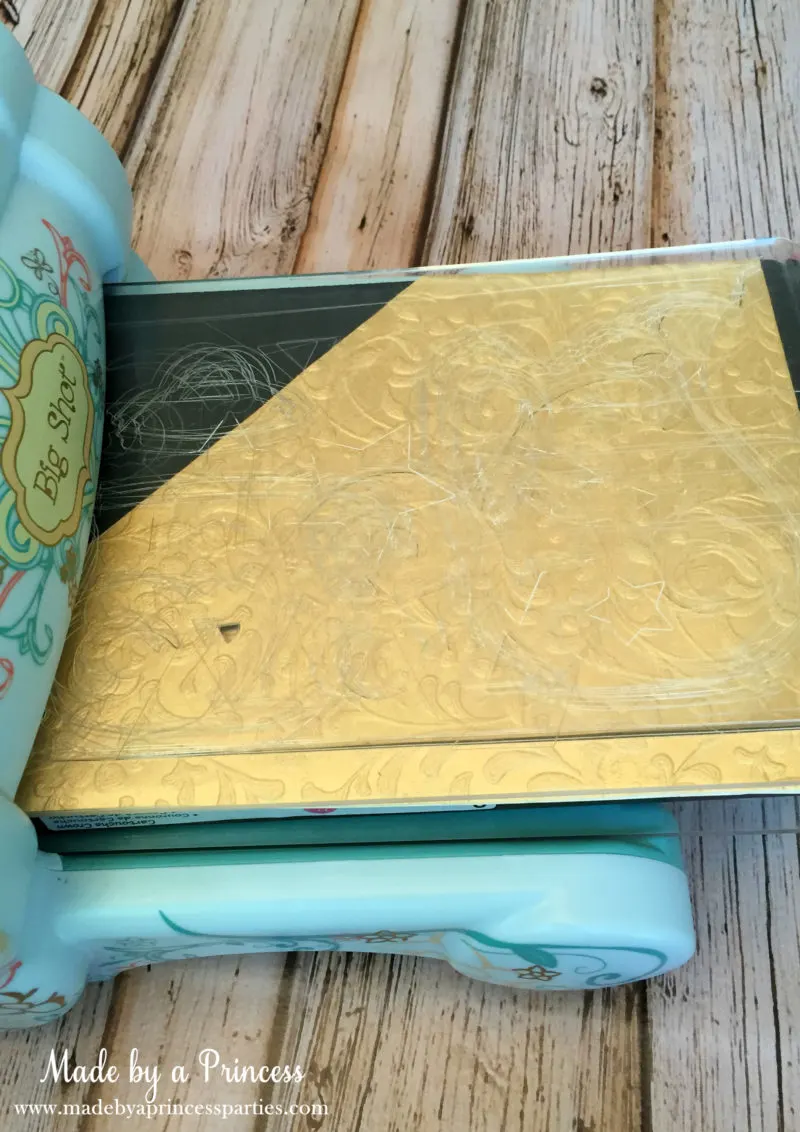
Using the sandwich method (Cutting Pads, die, cutting pad) place in your machine and roll right through.
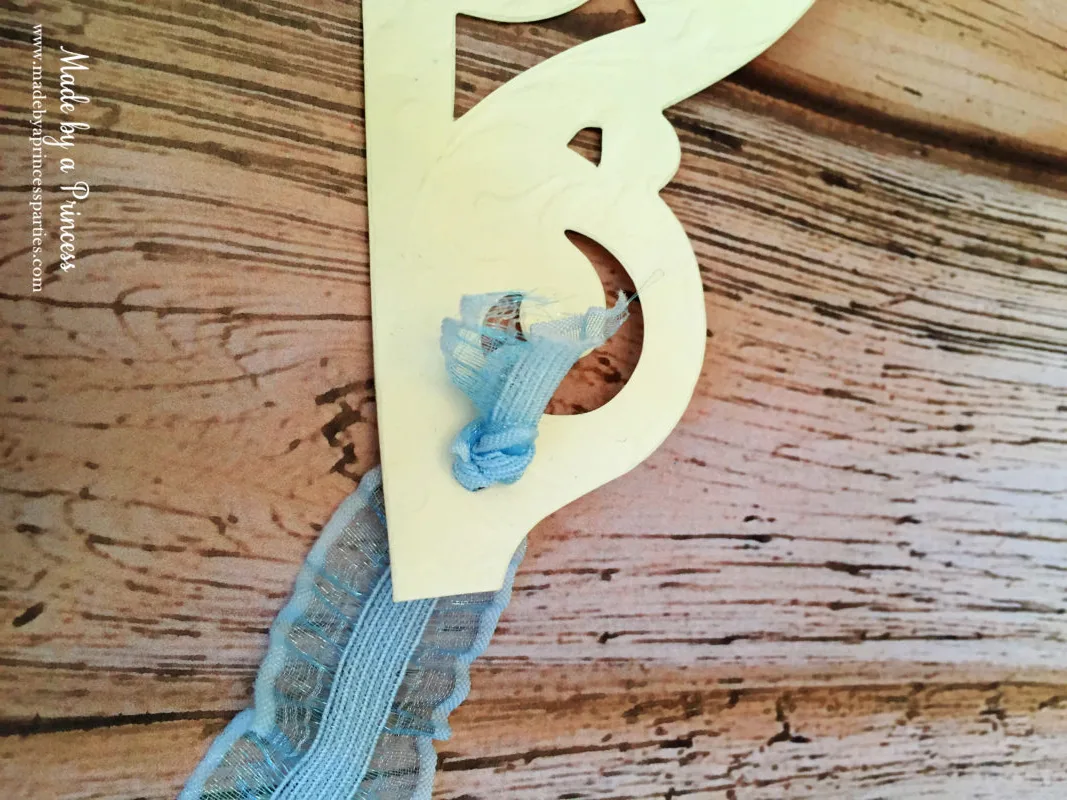
Once you have removed your crown from the die and discarded the little bits of paper, pull your ribbon through and tie end in a knot. Aside from the fact that it was the perfect color blue and it has ruffles it is also stretchy which helped the crown stay on little scampering princesses!
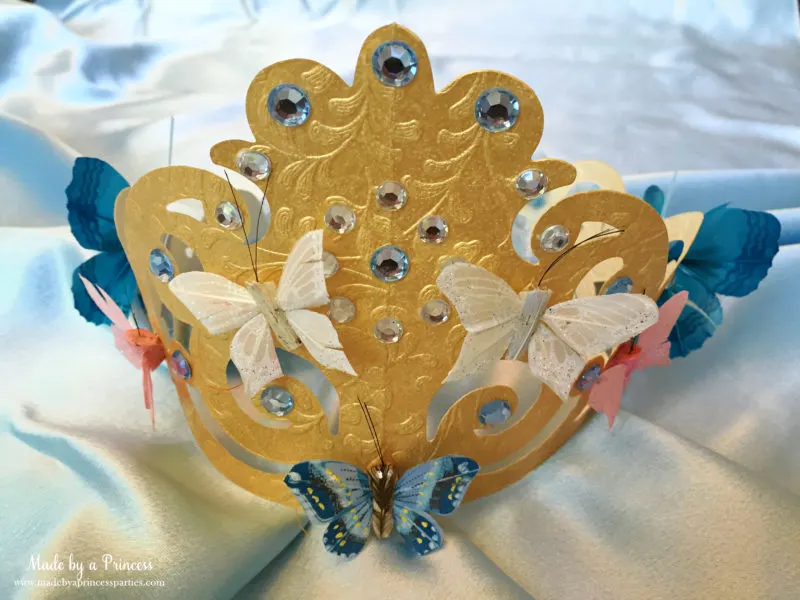
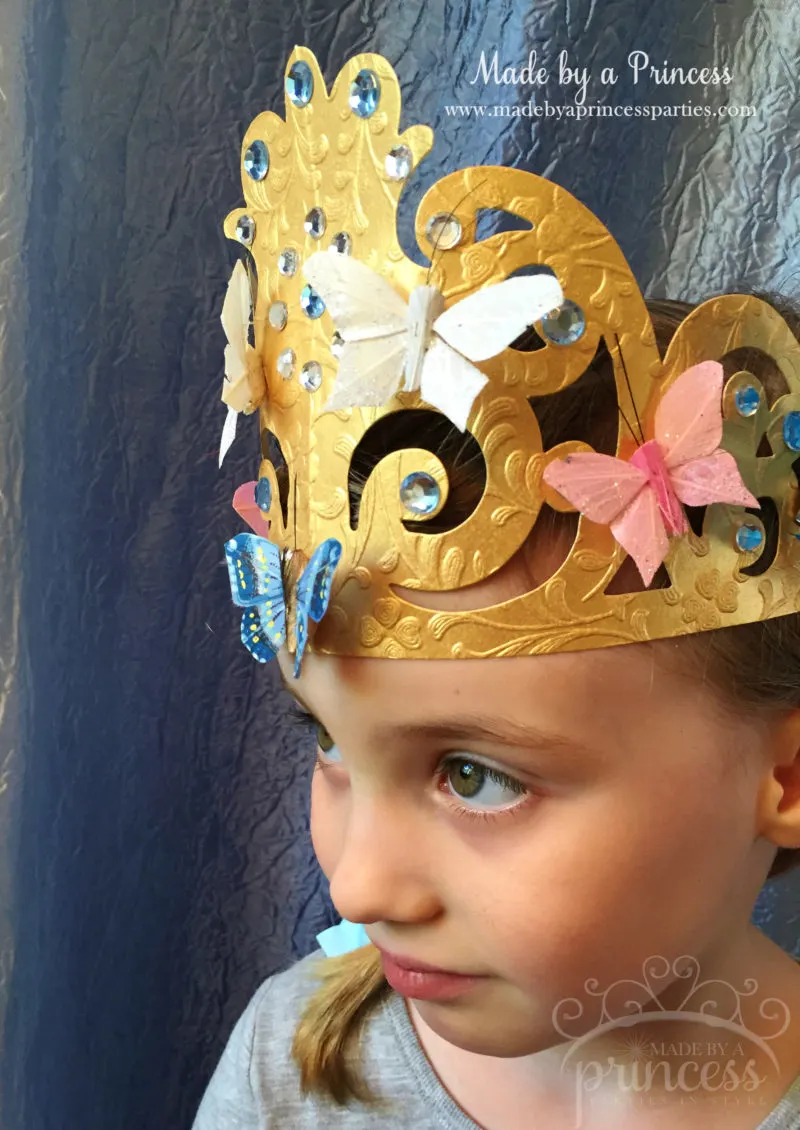
Now the really fun part…decorating your crown! Butterflies were an important element of the Cinderella movie so I chose them to embellish our crowns. PaperMart has a ton of beautiful butterflies and rhinestones in a variety of colors. I used three different sets from PaperMart: 3 3/8″ vibrant colors, 2″ pastels, and bright 2″ butterflies. I stuck to the colors of our party for this crown, blue, gold, and pink, but when the little girls at our party made them they chose all sorts of bright colors! Theblue and clear rhinestones were the perfect sizes and really made the crown sparkle.
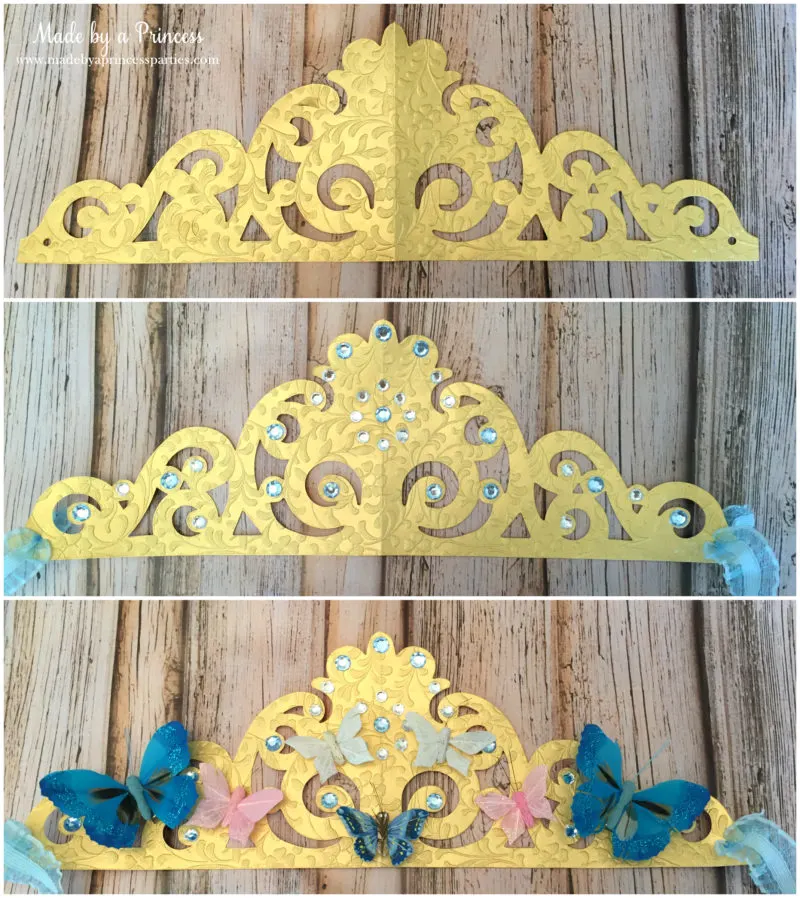
Here is the final product. I gave this one to my little girl to wear at her birthday dinner. One of the best things about this Cartouche Crown Die is that you can create one that matches your colors or your theme just by changing the paper and types of embellishments. It is very versatile and can be made in less than 15 minutes. Thank you for checking out my Princess Crown tutorial! Don’t forget to share photos of your crowns on the Sizzix Facebook page and mine!
Happy Crafting!

Other Supplies Used:
- Embellishments
- Butterflies: vibrant colors, pastels, bright 2″ butterflies.
- Rhinestones: blue and clear
- Ribbon
- Glue Dots
- Gold metallic paper
