It all starts with the invitation…
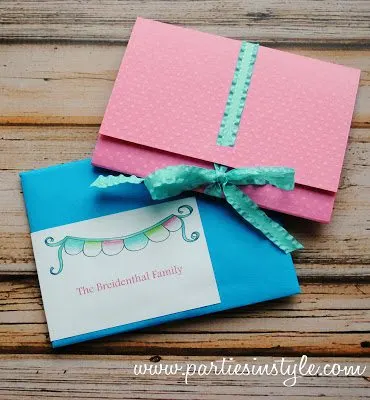
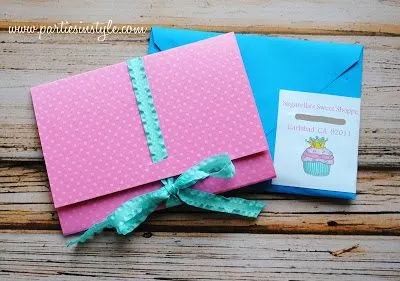
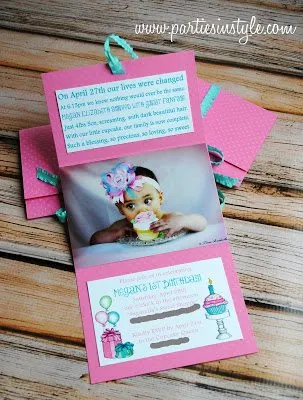
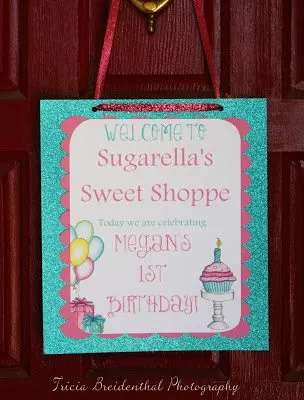
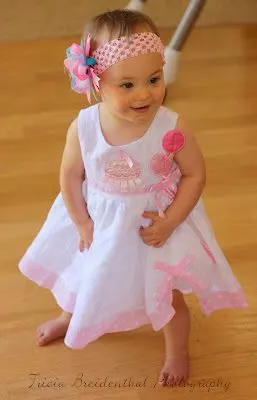
One of my besties (who, if you follow me at all are well acquainted with) Tricia, came over and took some amazing photos of Miss Cupcake for her birthday photo shoot. You can view the photo here on her home page. After seeing the pictures I knew I had to use it for the invitation. I contacted Jeanne Carr of JCarrIllustration on Etsy last year about designing custom graphics for me. I told her my color scheme and the look I was going for and she came up with a gorgeous set of illustrations for me. She does now sell the set in her shop and it has become her best seller. Yay! At that time I was not sure how the invitation was going to look but I knew it would be about cupcakes. I played around with styles and format a lot (a lot!) before settling on a custom tri-fold design. I found the pink paper at a local scrapbook store and ordered envelopes in blue to tie it all together. I created a template out of standard copy paper and made sure all of my lines and fold marks were just right before cutting the paper. I got three invitations out of one 12×12 sheet. The ruffle ribbon was purchased on Ribbons & Bows Oh My. I also designed matching wide wrap address labels. The poem was something I wrote just for our little one and wanted to convey how special she is to our family and friends.
Once the invitations were done I was ready to focus on all of the other details. I had seen this really cute pink cupcake material somewhere in my internet travels and decided I wanted to make chair toppers to give it a real Sweet Shoppe feel. I purchased the fabric from Pink Petunia Pearl on Etsy and was very pleased with the transaction and quality of the fabric. Robert Kauffman makes great fabrics! I think all together it took about four hours or so to make six. Each was lined with pink fabric and the seams were pressed before completion so that added extra time. I loved the way they turned out and would probably do chair toppers again for another party. It’s a subtle detail and not a necessary one but I thought it really tied it all together. Our guests liked them too.
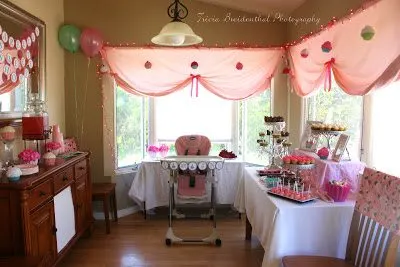
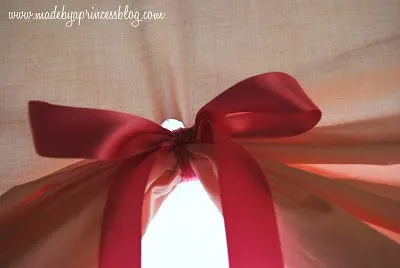
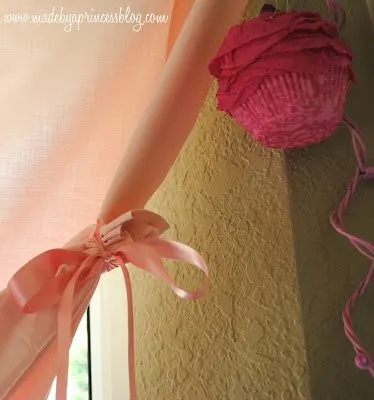
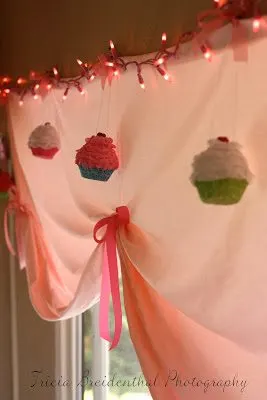
Those swag curtains I have up were really easy. I purchased two pink flat sheets from a Vintage Linens on Etsy, ripped one of the sheets down the middle and used binder clips to attach them to nails I have above the windows. To get that swag look I cut a slit (shown below) and looped ribbon through the hole and made a pretty bow. For the ends I just folded the bottom corner up like you would a paper fan, cut another slit, and looped a ribbon through making sure to “catch” the fanned portion up with the loop. Tie a ribbon and done! There was absolutely no sewing on this project at all and turned out exactly as I had envisioned. I bought the sheet with the intention of using it for a curtain so I didn’t care about getting rid of it when I was done.
The hanging cupcakes were put together one afternoon over Croques Monsieur sandwiches, cupcakes, and pink lemonade with bestie Trish. Thank goodness she offered to help me bake these up because they are a bit time consuming when you’re making two dozen. I knew I wanted cupcakes hanging from the windows and couldn’t find anything I liked online so I came up with my own design. I used a long needle to thread jeweler’s wire through the top so that they would look like they were sort of floating there. Once I had my hanging loops made I tied a bow on top which helped hide the nail and clap. You can find the tutorial here.
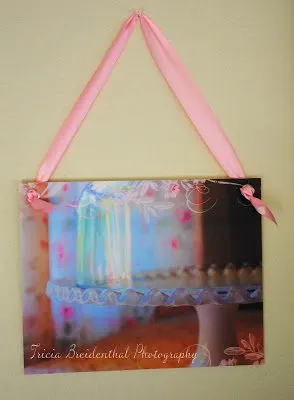
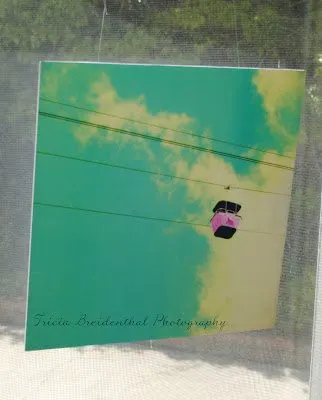
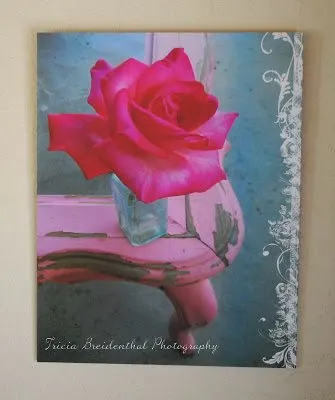
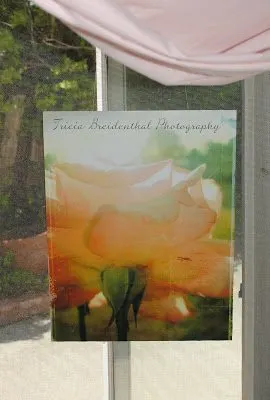
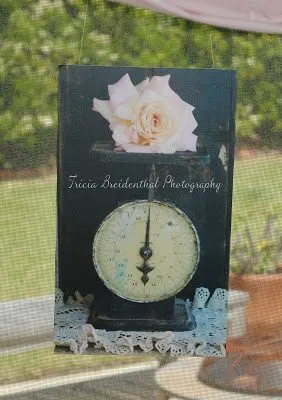
Something that came to me in the middle of the night (that’s when all my good ideas show up!) was the idea of hanging pictures in the windows. I wasn’t sure exactly how to accomplish that so I talked to Trish about using some of her photos and she suggested mounting them on foam board. Brilliant! I chose a collection of her photos that were pink and girly and she figured out the rest. The result was perfect! Just what I had envisioned to make it really feel like our guests were in a dessert store.
Now on to the accessories…
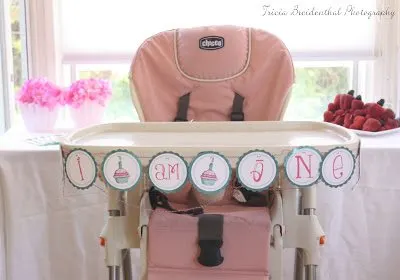
I actually had a lot of other things planned but time got in my way. I printed up a bunch of lovely little food tents but in the midst of cooking and preparing and plating they just didn’t get used. Oh well. Here is a sampling of what I designed:
I used my Silhouette Cameo for the first time with this one and given more time I would have chosen a different shape for the border but the overall look with the glittery paper and ribbon is exactly what I was going for. The paper I bought at Michael’s when it was on sale and the ribbon I am fairly certain I purchased there around Valentine’s Day.
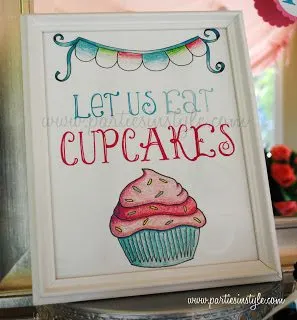
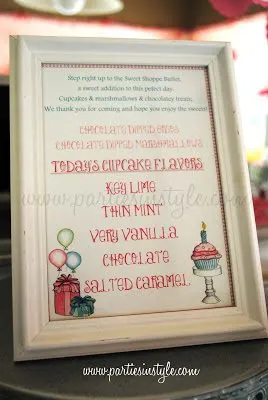
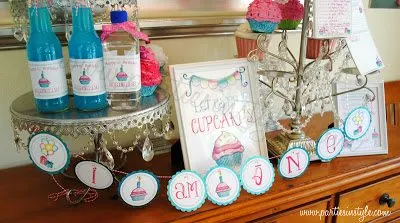
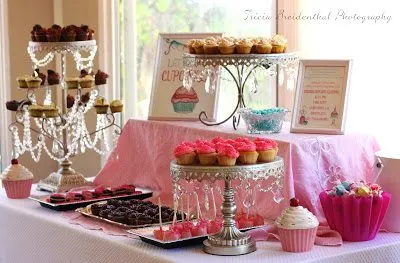
I made two signs for the dessert tables, “Let Us Eat Cupcakes” and a menu with the types of cupcakes I made.
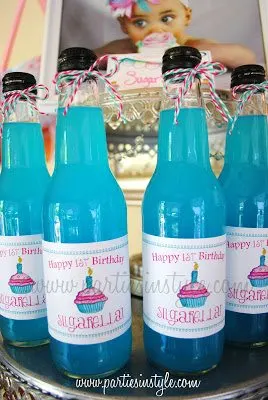
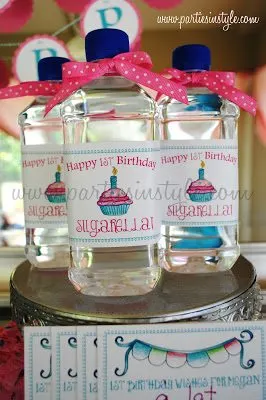
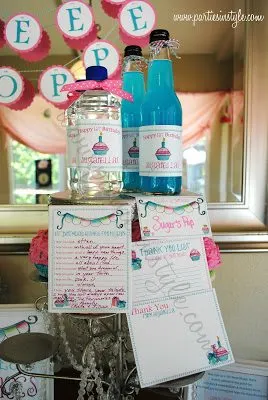
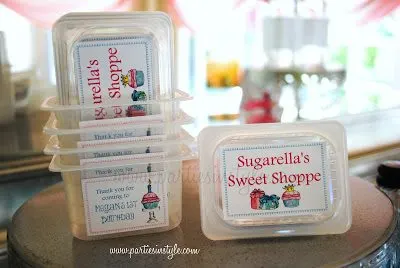
Soda bottles and water bottles…
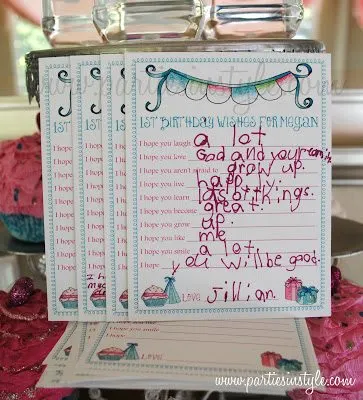
I also made “Wishes for Megan” cards which our little Kindergartner friend, Jillian, lovingly filled out for her.
Now the food…
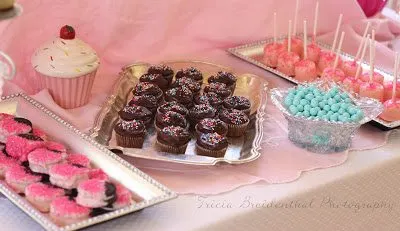
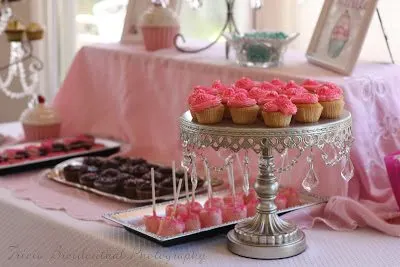
As with all of my parties I cooked everything and baked all of the cupcakes. Since it was a cupcake theme it only made sense to have several different cupcake flavors. I made five different flavors in mini size so that no one would feel guilty about trying several (or all) the different kinds.
I will be posting the recipes for each of these in the coming weeks. I used various sources for the recipes but ended up altering almost every one to suit my tastes and needs. The Key Lime ones were gone first. I didn’t get a single one. Not even a bite. My favorite were the Salted Caramel. I made almost two dozen of each kind and we had about 25 guests including kids and there were five cupcakes leftover between what people ate and took home. I think it was the perfect amount!
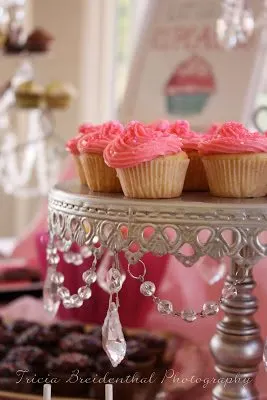 |
| Vanilla Cupcakes |
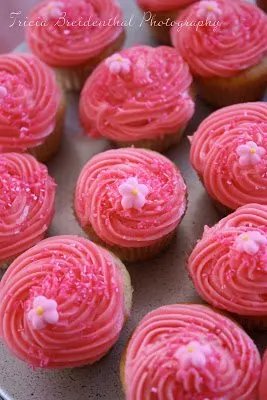 |
| Top of Vanilla Cupcakes |
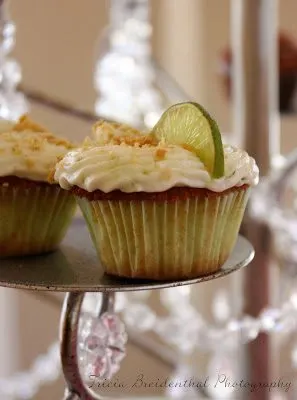 |
| Key Lime Cupcakes |
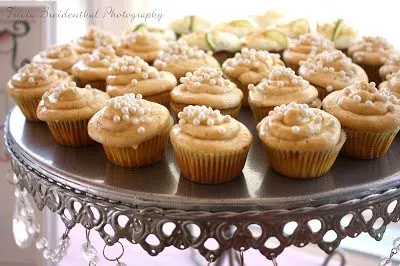 |
| Salted Caramel Cupcakes |
 |
| Thin Mint Cupcakes |
 |
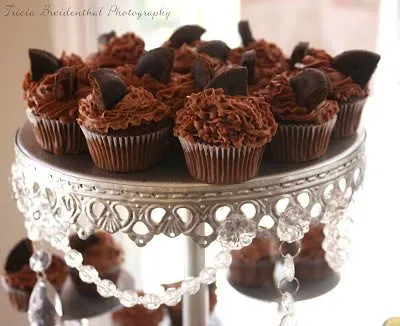
| Chocolate Chocolate Cupcakes |
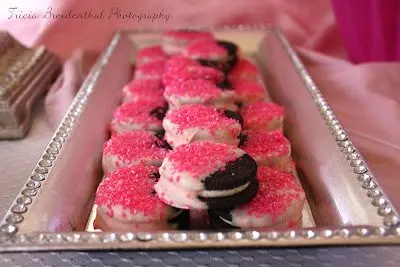 |
| Chocolate Covered Oreos |
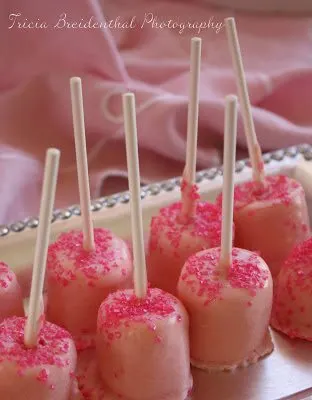 |
| Chocolate Covered Marshmallows |
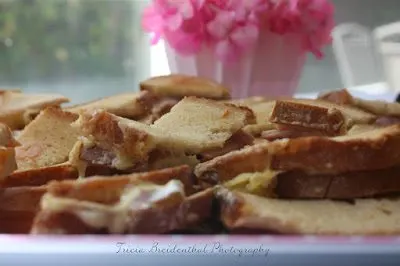 |
| Mini Croques Monsieur Sandwiches |
Date Rumaki is a staple at my parties now. If I didn’t serve them I think my friends would leave. Seriously. BFF B has them down to a science now she has made them so many times. Date, olive, bacon, roll, toothpick, bake. Yum!
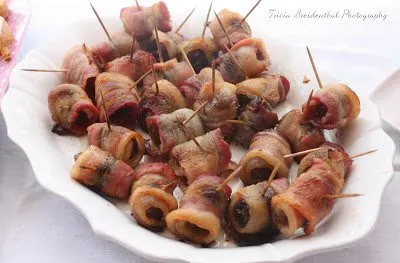 |
| Date Rumaki |
And for those who didn’t want a complete and utter sugar high we did provide fruit.
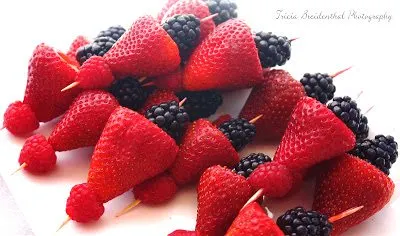 |
| Fresh Berry Kabobs |
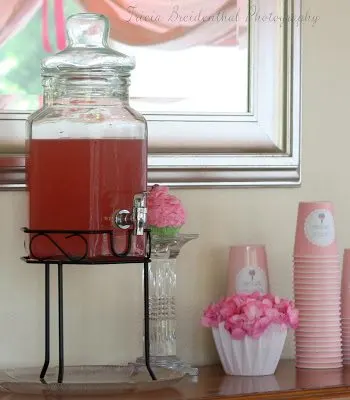 |
| Sparkling Punch |
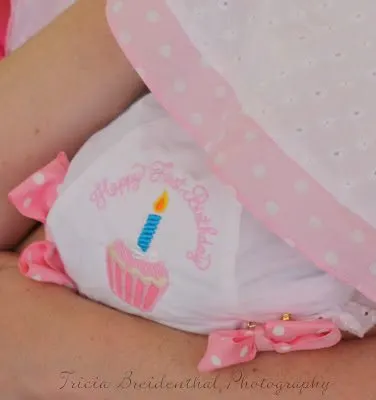
This is the same bow she wore in her birthday photo shoot and was made by Little Monkey Bowtique on Facebook. It was beautifully crafted and something I will always cherish.
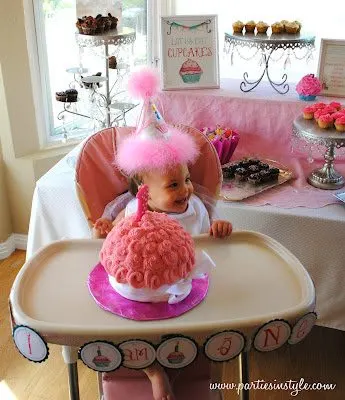
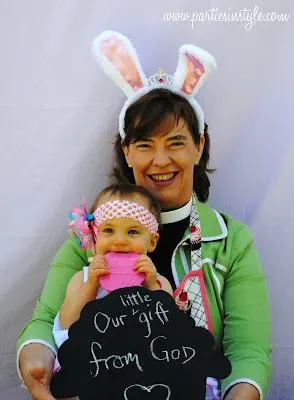
My happy little cupcake!
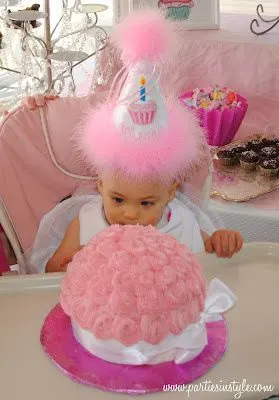
I made this cake using a silicone mold. Can’t testify to how it tasted since it was her smasher cake but it cooked nicely. I think I am too much of a traditionalist to go silicone all the way but I can say I tried it. I used my tried and true buttercream frosting and a wide star tip.
I’m sure there’s more but if you have made it to the end Brava! & Thank You! I will be posting all the recipes I used throughout the week…there are a lot!
I would like to give a quick shoutout to all of my husband and my son for putting up with me during Party Week and for all their help. I would also like to shoutout to my friends who helped me put this together. BFF B & Mr. Fix It (flew in from San Francisco at the crack of dawn to be here bright and early Friday morning), Lisa & her daughter Laurel, Trish, Jo, Shelly, Susanne, Andrea, Mermaid, and Rev. Laura. My girlfriends are the best. As soon as they walk in the door they come right into the kitchen and start preparing with me. They know how my parties go and how there is always a list with recipes to follow and things to get in and out of the oven. It works because I have girlfriends who help me out. I love you girlies – thank you!
Resources:
Photography: Tricia Breidenthal
Hanging Pictures in the Window: Tricia Breidenthal
Event Styling, Invitation, & Printables: Made by a Princess Parties in Style (me)
Illustrations: J Carr Illustration
Hat, Bib, & Diaper Cover: Gingham Bunny
Hairbow: Little Monkey Bowtique
Pink Vintage Tablecloth on Dessert Table: BridenetVintageLinen
Zigzag Pots: The Container Store
Flowers: Floral Trade Center
Various Serving Pieces & Cupcake Stands: HomeGoods
Food: Me (with lots of help from amazing friends!)
Anonymous
Tuesday 5th of August 2014
nice post
MadebyaPrincess
Sunday 14th of September 2014
Thank you!
Clotilde/Craftybegonia
Monday 30th of June 2014
That is totally precious!
MadebyaPrincess
Monday 30th of June 2014
Thank you so much!! I cannot believe my little cupcake is three now!
Cathy Popick
Friday 24th of January 2014
Hi! I came across your blog when searching for 'cupcake birthday ideas'. LOVE your ideas!! Since I'm clearly not as good of a baker as you, did you preamble anything (ie, the Oreos or marshmallows)? Looking forward to using some of these ideas!
Shirley
Thursday 5th of July 2012
Wow!! You know how to put out a spread. Thanks again for posting my cupcakes, and a happy belated to your little one.
MadeByAPrincess
Friday 6th of July 2012
Thank you Shirley!
Jeanne @ JCarrIllustration
Thursday 21st of June 2012
Adorable, adorable, adorable!! What a sweet, sweet party. Your attention to detail is amazing and I just LOVE what you did with the illustrations. Love the high chair banner, the beverage labels, everything!Beautiful party.
MadeByAPrincess
Thursday 21st of June 2012
Thank you so much Jeanne! Your illustrations were perfect and set the mood throughout. Now I'm gearing up for my son's 10th birthday next week. Where one party ends another begins :)