Welcome to Day 3 of our Festive Blog Hop! I am going to include some links at the bottom so you can see Day 1 from Cafe Creativo and Day 2 from Make Life Lovely. Today I am sharing some tips on making super cute gift tags using some of Jen Long’s new Winter Collection dies and some of those bits of wrapping paper you were going to throw away. I love being able to repurpose some of that pretty paper and make something crafty at the same time.
Every year I promise that I won’t buy more Christmas wrapping paper…I’m just a big ole liar because I always do buy more paper! I just can’t help it. This year I found some really pretty sparkly and glittery ones and I couldn’t resist. I just love how my packages look and that’s all that matters right?! As always happens I have a nice little pile of paper that is too small to use for a package and it just kills me to get rid of it so this year I vowed to let no scrap go unused. I saved the glittery red and silver candy striped bits from the deep dark depths of garbage can!
Grab your wrapping bits, some cardstock, a hole punch, your Sizzix machine, and your dies and let’s get started!
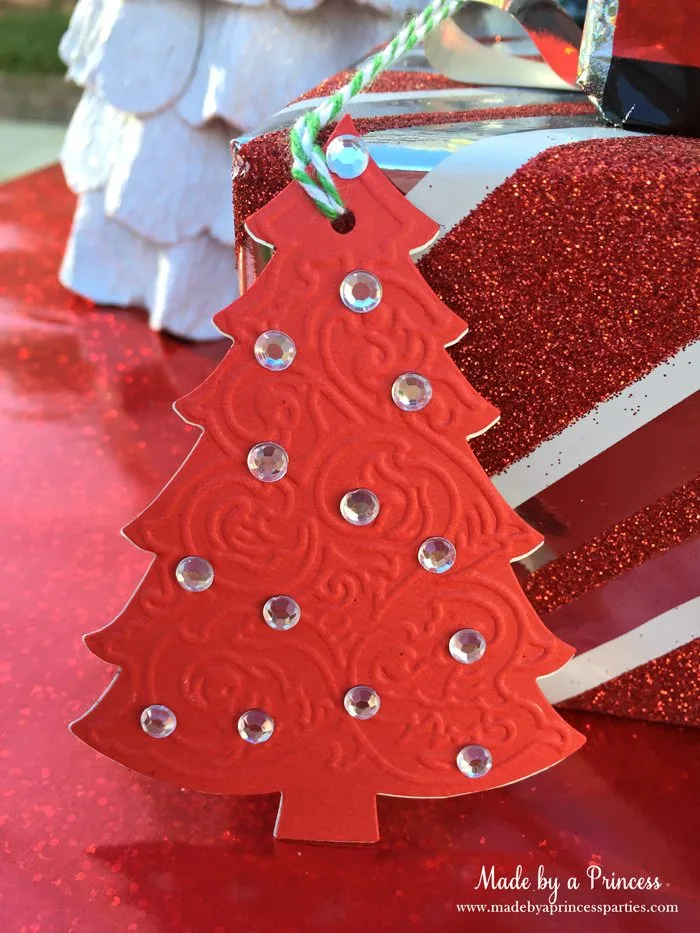
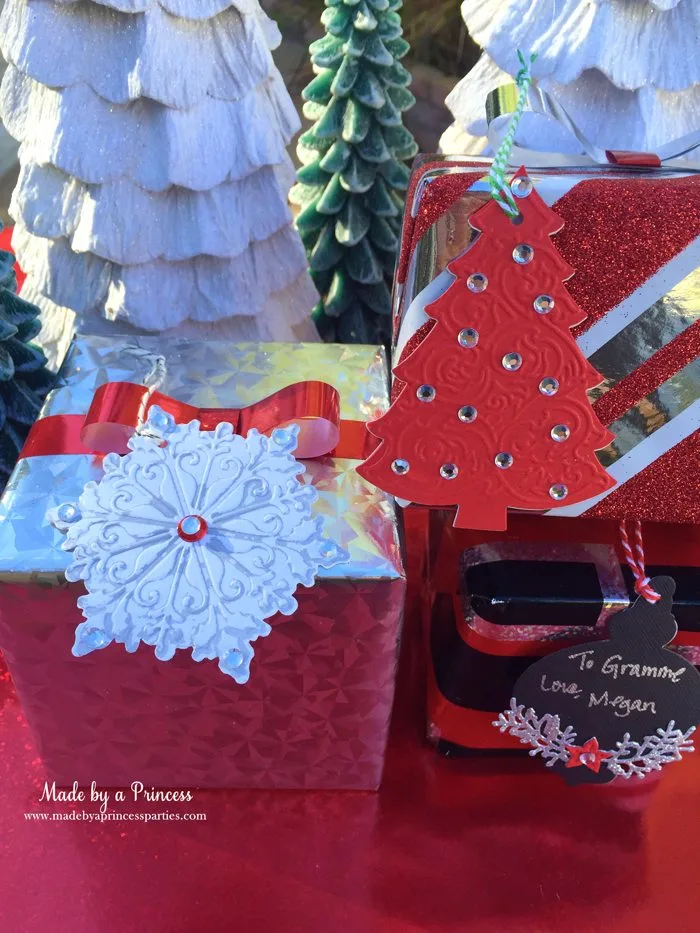
Using the sandwich method (Cutting Pads, Jen Long Christmas Tree & Snowflake die, paper, Cutting Pads) roll your sandwich through the Big Shot Machine until the whole thing has come through on the other side. Do the same thing for the rest of your trees and snowflakes. Use scraps of wrapping paper for the backs of your tags and glue together. If you plan on embossing go to the next step before gluing together.
To emboss it use the same sandwich method but take your cut shape (tree) and line it up with the shape in the embossing folder and place between Cutting Pads. Place your cutting pad sandwich on top of the Extended Multipurpose Platform and roll through.
Embellish with rhinestone stickers, punch a hole, and add twine, ribbon, or cord.
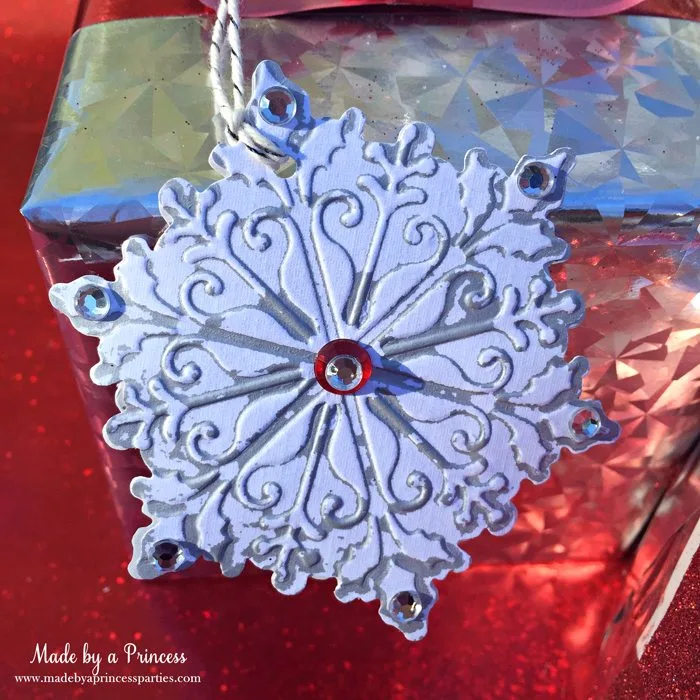
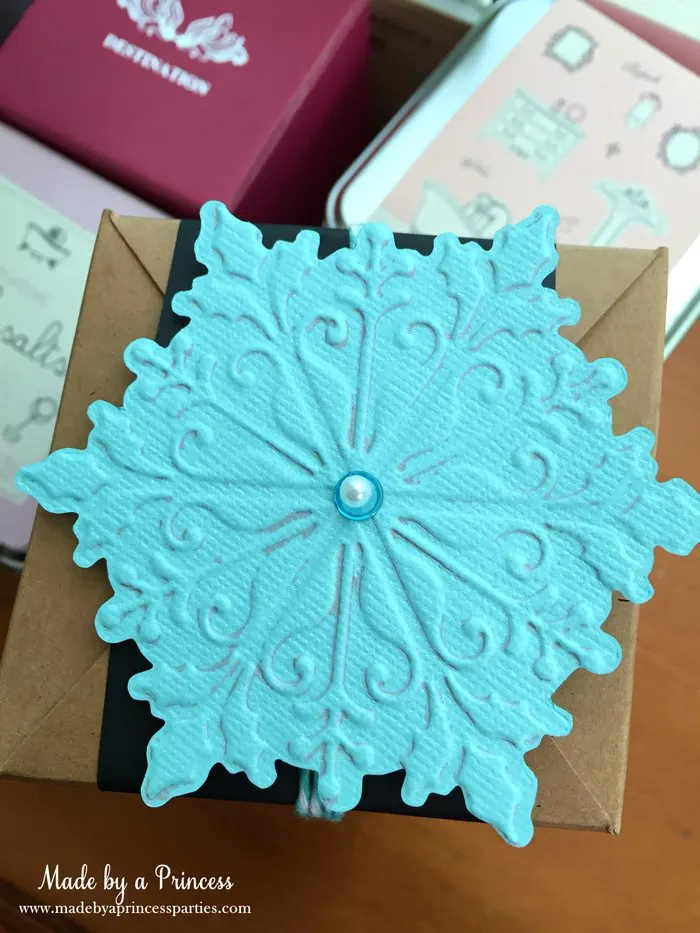
For the snowflake I used an Inksheet to give it a little more depth and color. Cut a piece of Inksheet a bit bigger than your shape. Place your snowflake so the top of your tag is facing the “ink” side, which is the matte side. Line the two up with the outline of the embossing folder and using the same method above, emboss the snowflake. I actually ran this through twice to make a darker impression.
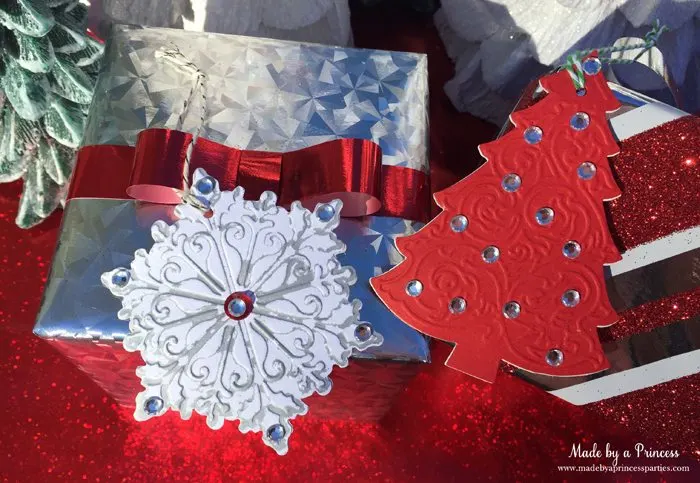
To make this pretty ornament shaped tag I used Jen Long’s Thinlits 8pk Ornament set. You will need a Magnetic Platform, paper, Thinlits, and a set of Cutting Pads.
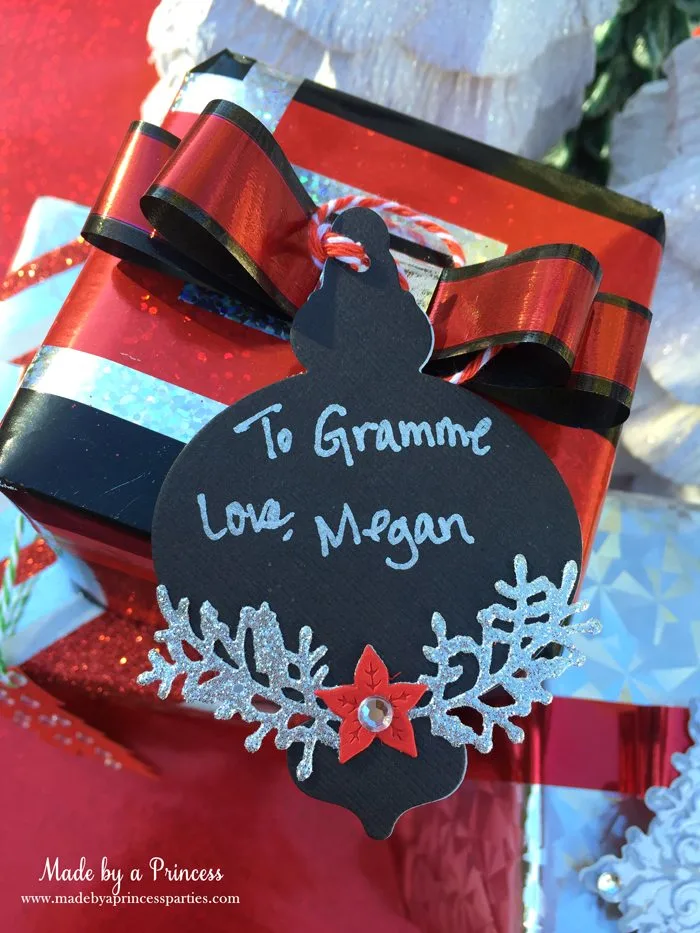
Here is what the back of that tag looks like using a scrap of wrapping paper.
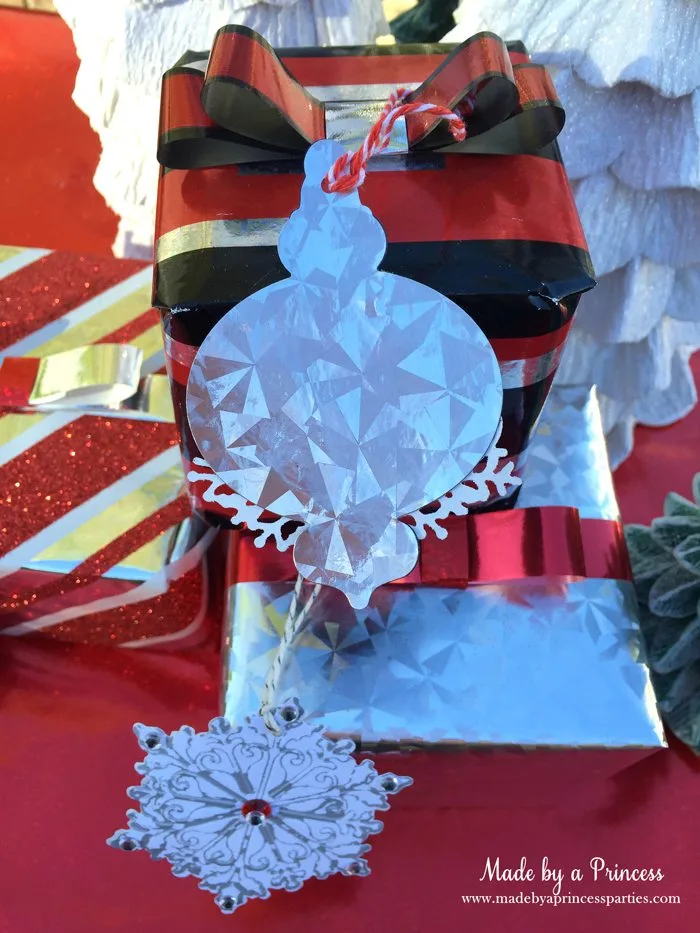
I love how my tags came out this year! I was able to get a little crafty and recycle some wrapping paper…win win for me!
Here is an alternate way of using the dies. Instead of a tag I used it to embellish my little package. I used a pillow box and chalkboard wrapping paper from World Market and wrote my gift info on the back with chalk. I cut out a bunch of these so I would have them on hand and I let my 4.5 year old decorate them. I think she did a great job! I used the Inksheets on this one as well…I really like how the white came out.
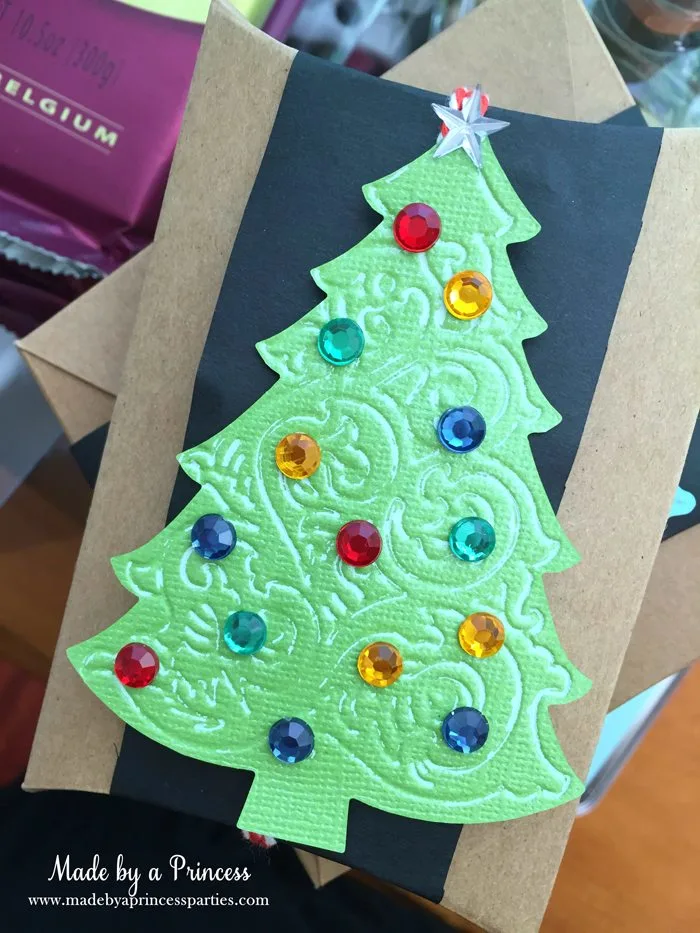
I do love how the aqua snowflake came out. I think I found my wrapping theme next year. Yes…I do wrap in themes. I am weird…I know!
I hope you enjoyed my Repurposed Wrapping Paper Gift Tags tutorial. My fellow Festive Blog Hoppers have some great ideas so take a leap to see them too!
Blog Hop for this week:
Tuesday 1st – Laura Russell (US)
Thursday 3rd – Kylie Jenkins (US)
